Last updated November 22, 2026
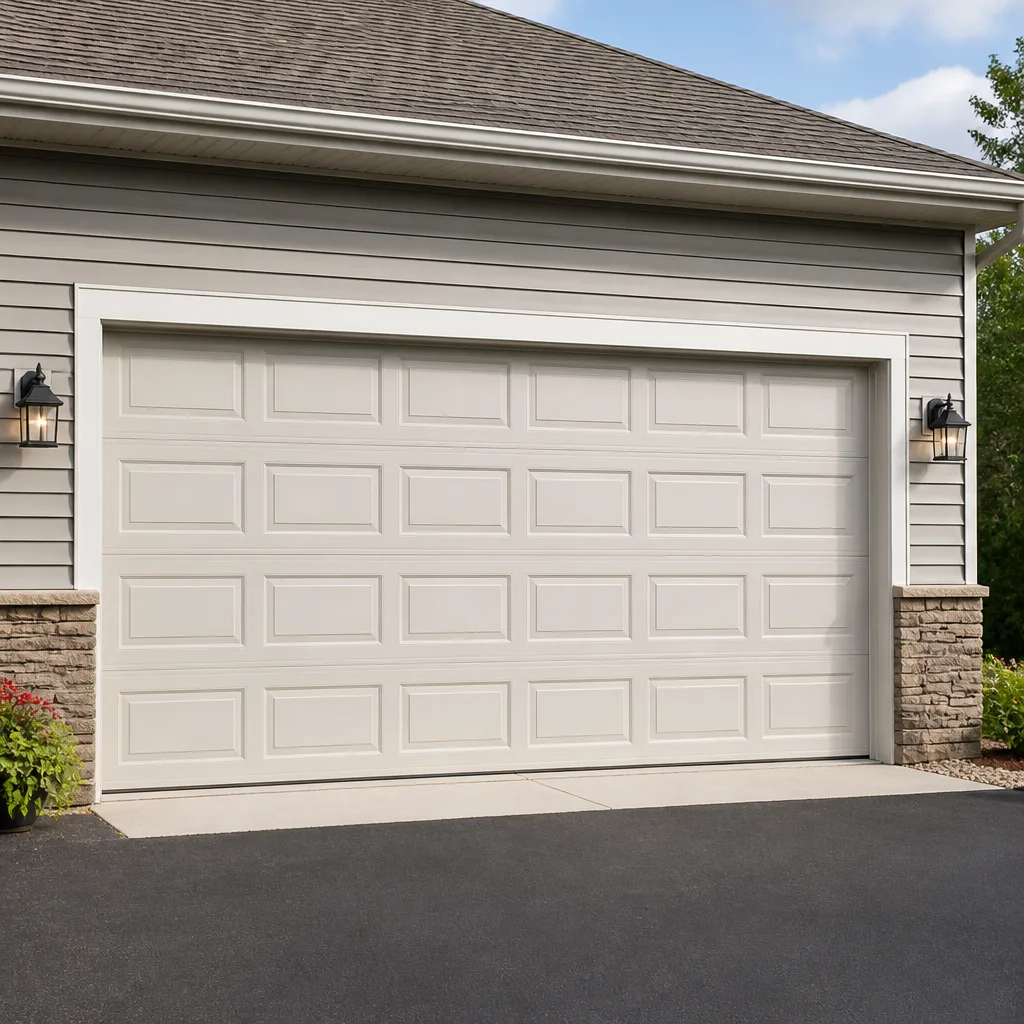 Raised-panel steel
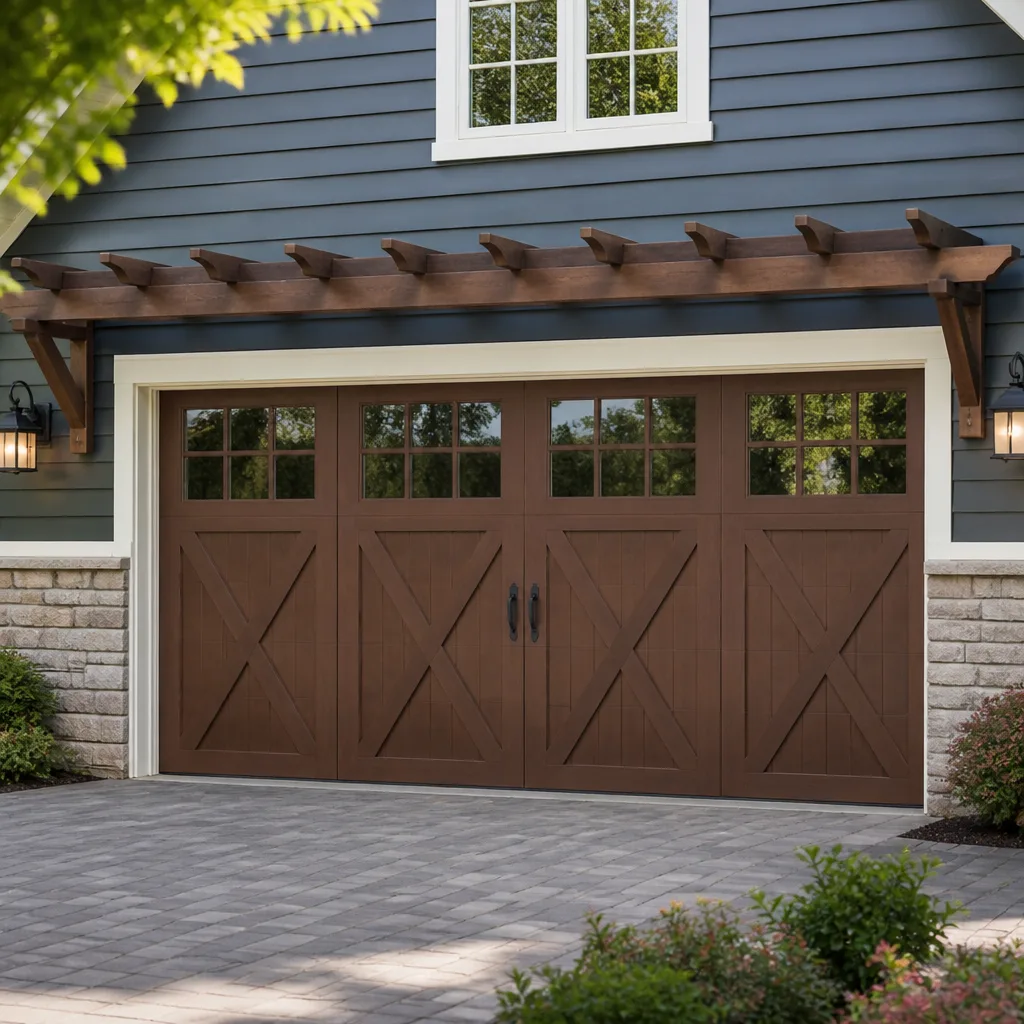 Carriage house
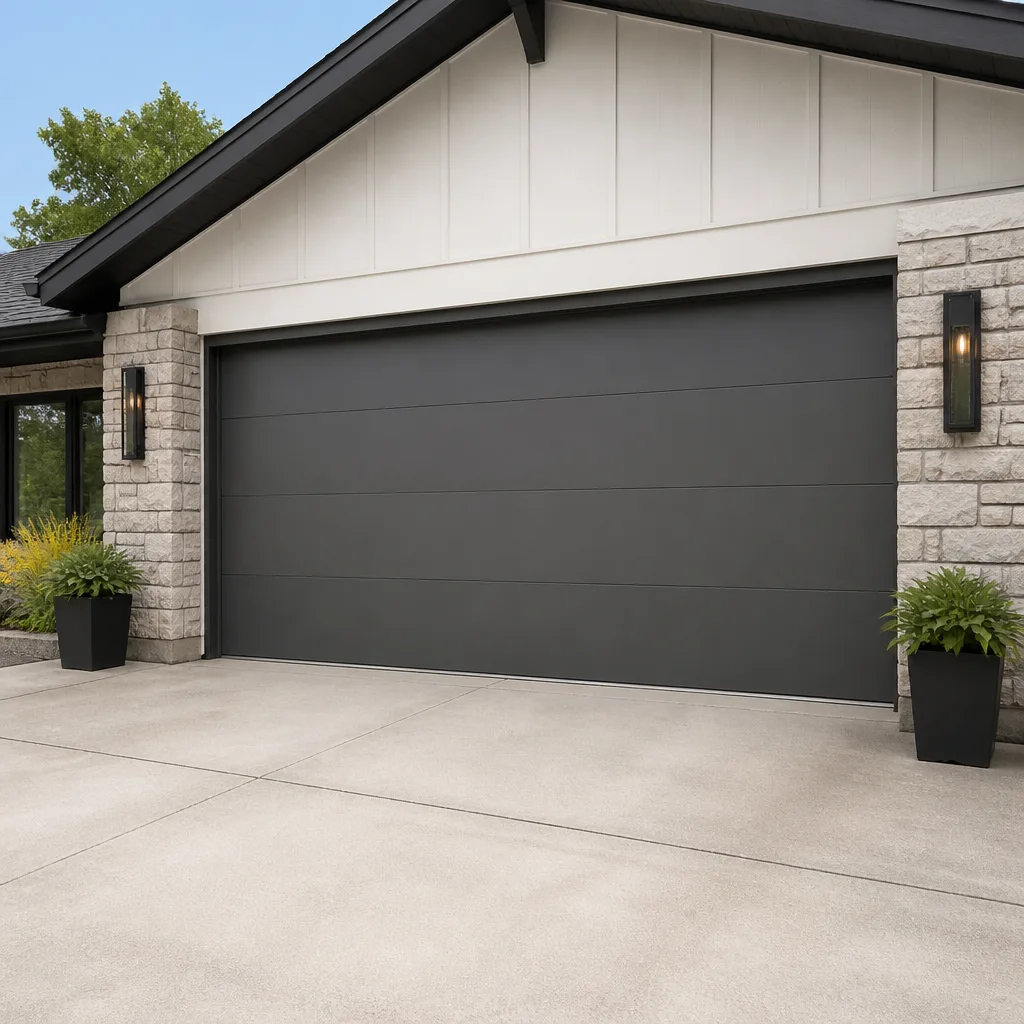 Modern flush
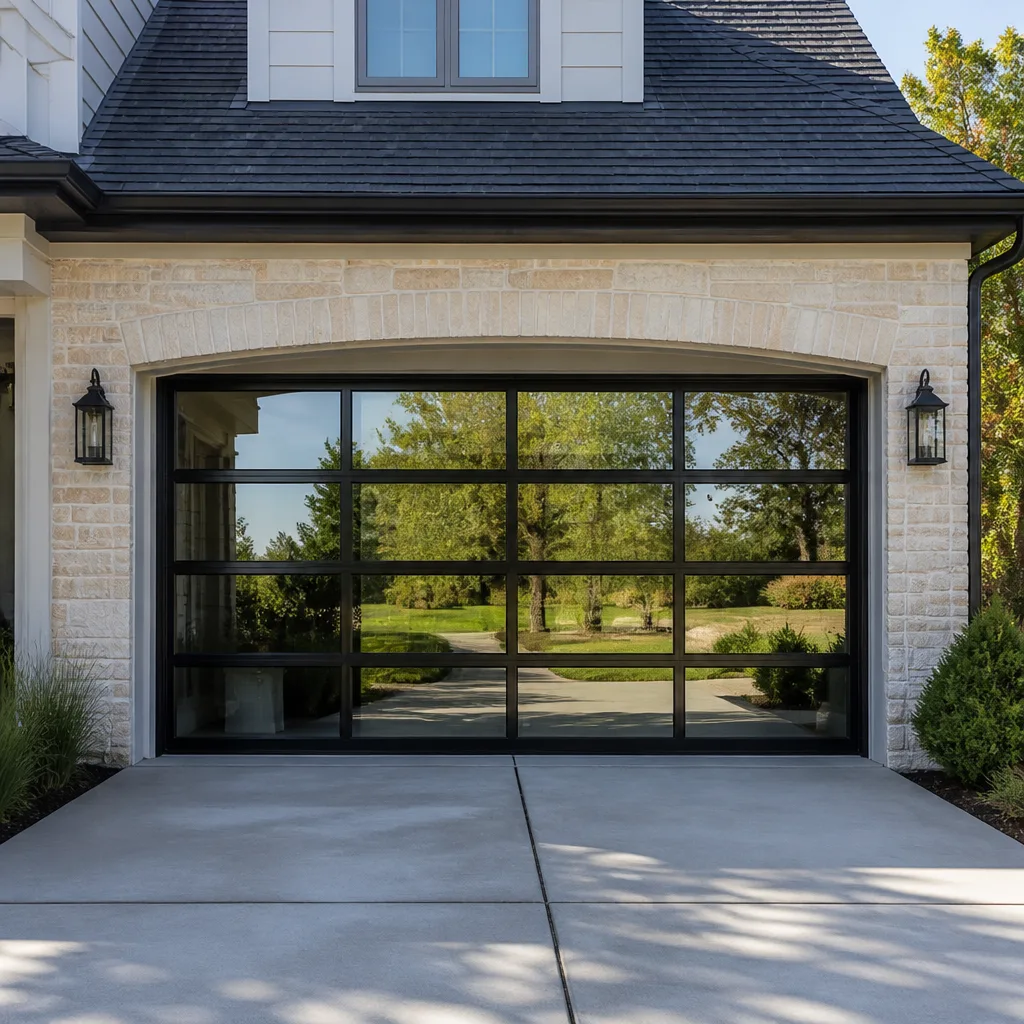 Full-view glass
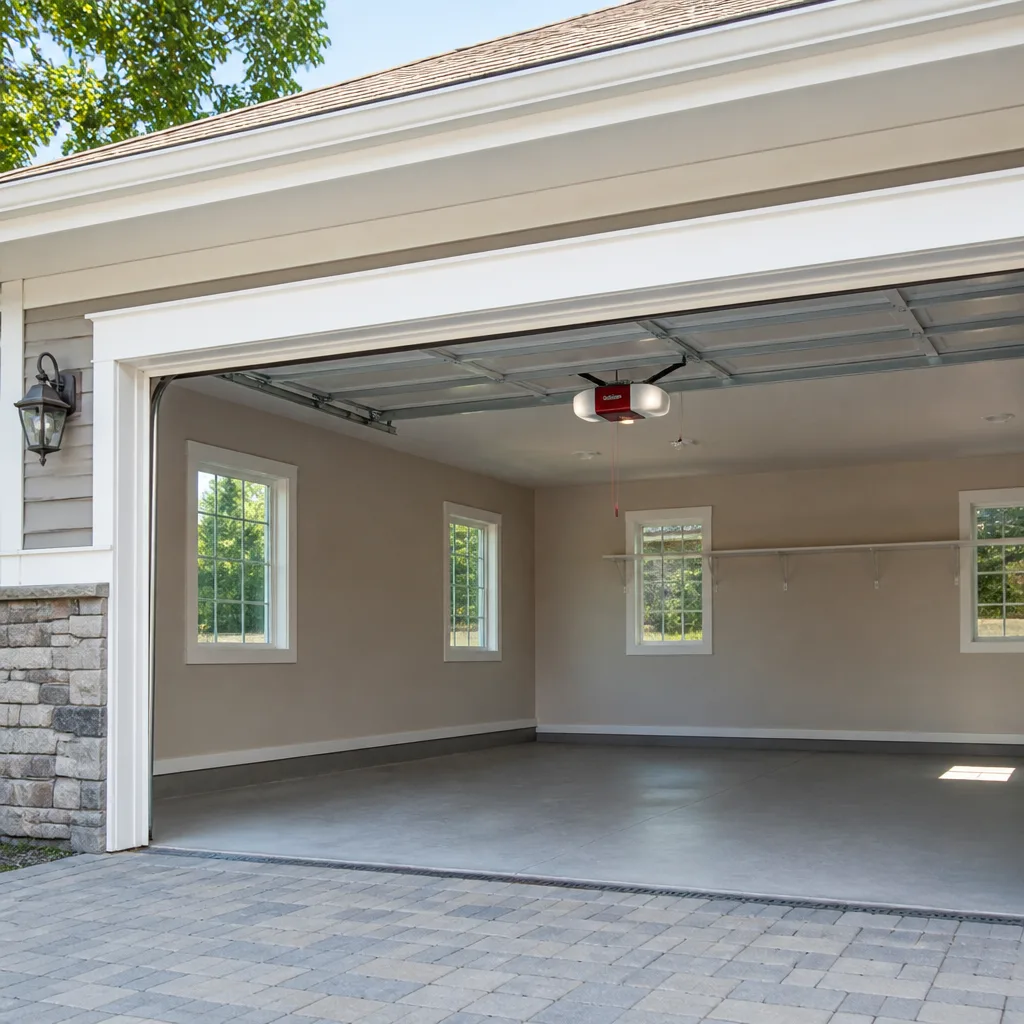 LiftMaster openers
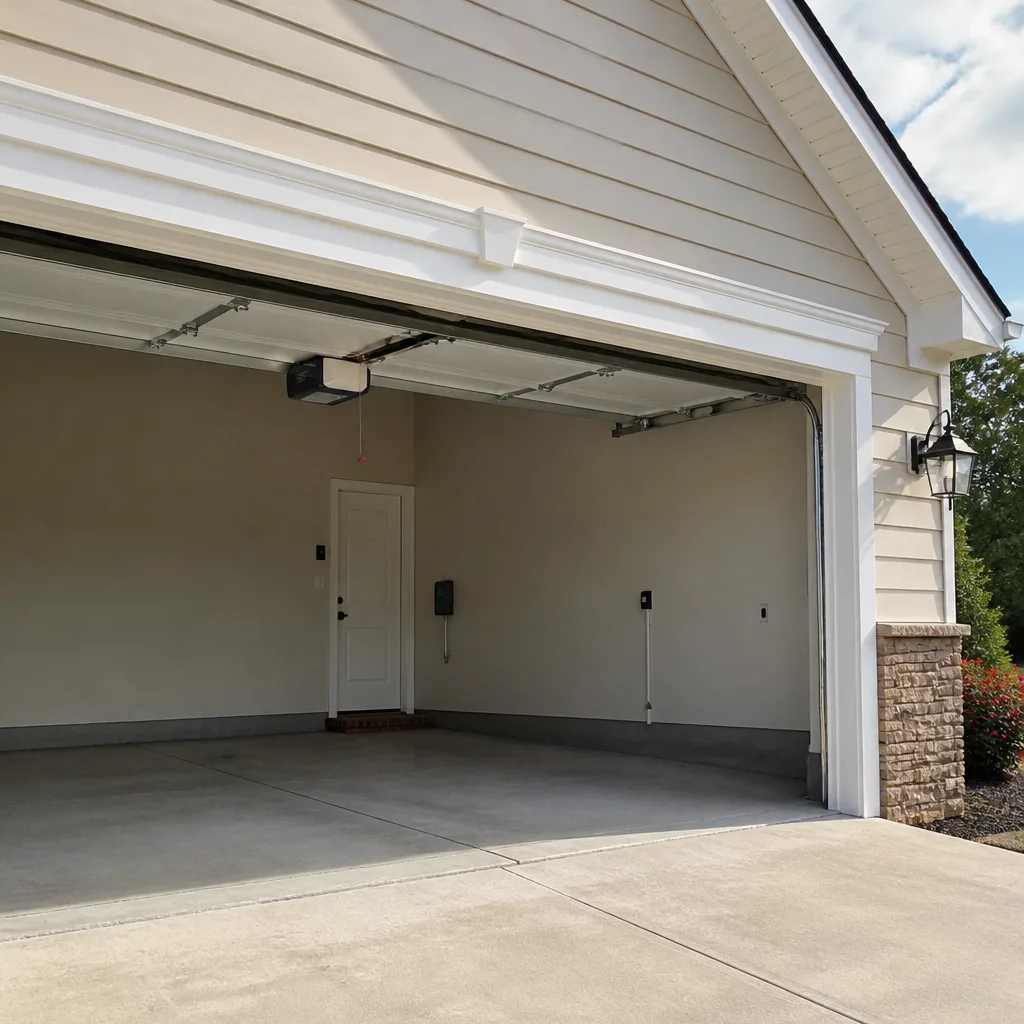 Chamberlain openers
Full 25-point door and opener safety check with every visit - springs, cables, rollers, tracks, and your LiftMaster or Chamberlain opener included
You get a price before we start. It does not change when the pro arrives.
Get your free estimateGarage Door Repair Maintenance Checklist for New Rochelle Homeowners
Most garage doors that “failed without warning” gave plenty of warning. A spring that snaps loudly on a cold morning has usually been losing tension for months. An opener that finally strips its gear has been straining against a binding door for a season or two. The signals were there. The homeowner just didn’t know what to look at, or what “worn” actually looks like versus what it sounds like. This checklist is built around those signals. It gives you the diagnostic language to tell the difference between a normal door and one that’s two weeks from a $800 emergency call. We’ll cover what to inspect, what passes, what fails, and what to leave alone. If you live in New Rochelle, your freeze-thaw winters make the timing of these checks as important as the checks themselves.
Quick Answer
A useful garage door maintenance checklist tells you what to look for, not just what to touch. Inspect springs for gaps and stretch, test the door’s balance with the opener disengaged, listen for grinding or popping, and lubricate only the moving metal parts – never the tracks or the springs themselves. In New Rochelle, run the full inspection in October before the first freeze and again in spring, and call a specialist the moment a spring looks worn, a cable looks frayed, or the door won’t stay balanced.
Styles & brands we work with
- Raised-panel steel
- Carriage house
- Modern flush
- Full-view glass
- LiftMaster openers
- Chamberlain openers
Table of Contents
- How Your Garage Door Actually Works (and Why It Matters for Inspection)
- Spring Systems: Torsion vs. Extension and How Each One Fails
- The Balance Test: What an Out-of-Balance Door Tells You
- Component-by-Component Visual Inspection
- The Lubrication Map: What Gets Oil, What Gets Grease, What Gets Nothing
- Opener and Safety-Reverse Checks
- New Rochelle’s Freeze-Thaw Cycle: Adjusting Your Schedule
- What You Should Never Touch Yourself
How Your Garage Door Actually Works (and Why It Matters for Inspection)
A sectional garage door is a balanced system, and every part depends on the others. The door panels ride on rollers inside two vertical tracks that curve into horizontal tracks overhead. A spring system – either torsion or extension – counterbalances the door’s weight. The opener doesn’t lift the door so much as guide it; the springs do the heavy lifting, and the opener handles the last few pounds of difference. This is why a door with a failing spring can still open for a while. The opener muscle-shoves it up. Then one day the opener can’t cover the gap anymore, and it looks like the opener failed when the real problem was the spring all along.
Understanding this hierarchy changes how you inspect. You’re not checking parts in isolation. You’re checking a chain of load transfer. The spring holds the door. The cables hold the spring. The drums and brackets hold the cables. The tracks hold the door’s path. There’s a natural inspection order that follows the load, and it starts at the spring.
- Opener: motor, rail, trolley, and safety sensors. Guides the door.
- Torsion spring or extension springs: stores the energy to lift the door. The most safety-critical piece.
- Cables, drums, and brackets: transfer spring energy to the door. Under constant tension.
- Rollers, hinges, and tracks: keep the door moving on a straight path.
- Weather seal and bottom bracket: seals the opening and anchors the door’s lower travel.
When a door in New Rochelle starts to feel heavy on one side, jerks on the way up, or shudders near the top, that’s not a random glitch. It’s one link in the chain telling you it’s under load it wasn’t meant to carry. That’s why the first check is always the spring system.
Spring Systems: Torsion vs. Extension and How Each One Fails
Torsion and extension springs fail differently, and a checklist that treats them the same misses half the warning signs. Torsion springs sit above the door on a horizontal shaft, and they’ve been wound tight from the first day they were installed. Extension springs run along the horizontal tracks on either side, stretched rather than wound. Each system has its own wear pattern, its own noise, and its own failure timing. Knowing which one you have tells you what to look for.
If you have a torsion spring: look along the coil for a visible gap, roughly a quarter-inch or more, in the spring body. That gap is a wound spring that’s partway through the break. Run your eye down the length and check that the coils sit evenly. A single stretched coil or a coil that looks narrower than its neighbors is the other early sign. Torsion springs also drift out of their original tension over the door’s life; a torsion spring that’s been quietly losing torque makes the door feel heavier, and you’ll start to hear the opener work harder even before the spring visibly fails.
If you have extension springs: check the length against the other side. If you have two, and one is a half-inch longer than its twin, that spring is stretching past its working range. Look for a stretch mark in the coil, a bright spot where the metal has thinned. On an older door, look at whether the springs have a safety cable running through them. Without one, a broken extension spring releases a chunk of metal into the garage space. That’s a safety code issue, and it’s one reason garage door spring repair should be done by someone who knows the system.
Both systems will pop once when they break. Neither pops with warning. The warning is the weeks of stress that come before. If you’re not sure what you’re looking at, or you see a gap, a stretch, or a visibly thinned coil, don’t test it further. Call a specialist. In our experience, spring failure is a safety issue, not just an inconvenience, and the last loop of a worn spring is the most dangerous one.
The Balance Test: What an Out-of-Balance Door Tells You
The balance test tells you more about the door’s health in thirty seconds than any visual inspection. It isolates the springs from the opener and shows you exactly how the door behaves under the spring’s power alone. An out-of-balance door doesn’t just point to “springs are bad” – the specific way it’s out of balance tells you which component is failing and roughly how far gone it is.
Run it in this order:
- Close the door fully.
- Pull the emergency release cord – the red rope hanging from the trolley – to disconnect the opener from the door. This is safe; it’s designed for it.
- Lift the door about halfway by hand and let go.
- A healthy door stays where you left it.
- A door that sags slowly to the floor has springs that are losing tension.
- A door that shoots up hard has springs that are over-tensioned.
- A door that drops fast – not slowly, fast – has a spring that’s close to failing or already has. Don’t run the door further. Call for service.
Reconnect the trolley when you’re done and cycle the door once to confirm it re-latches.
An out-of-balance door on one side only, where one corner droops before the other, usually points at an extension spring on that side or a stretched cable. A door that’s heavy overall points at the torsion spring or the opener’s force settings. A door that catches or shudders partway up, rather than sagging evenly, points at rollers, tracks, or a hinge rather than the springs. That difference matters because it tells you which service to book – garage door repair for the door and hardware, or opener service if the door balances fine but the opener still strains.
Component-by-Component Visual Inspection
Walk the door on a dry day with a flashlight and check each component against a real pass/fail threshold, not a vague “looks okay” standard. Here’s what to actually look for.
Cables. Pass: tight, centered on the drum, no frayed strands. Fail: any broken strand, a kink, a cable rubbing against the door frame, or a cable that’s visibly slack on one side. A frayed cable is under enormous tension, and it’s a stop-what-you’re-doing item.
Rollers. Pass: rollers ride smoothly in the track, turn cleanly. Fail: a flat spot (rollers wear into a flat side), a wobble on the axle, or a roller that’s bound up in the hinge and skidding along the track. Worn rollers are usually what makes a door loud without anything actually broken.
Hinges. Pass: hinges sit flush, no play. Fail: hinge plates bent out of shape, loose screws pulling out of the wood, or the door panel cracking around a hinge screw hole. Panel cracks around a hinge are an early sign the door is binding, and they don’t fix themselves.
Tracks. Pass: parallel, no dents, brackets snug. Fail: a dent in the track (a door that gets nudged usually dents a track), a track that’s out of plumb, or a loose bracket. A dented track forces the roller into a bind, which drags on everything behind it.
Bottom seal. Pass: sits flush on the floor, no gap. Fail: a hard, cracked seal that has lost its flexibility. A cold morning in New Rochelle makes a stiff seal brittle, and a brittle seal pulls away from the door at the corners.
Panels. Pass: even, unbroken, no crease. Fail: a crease running from a hinge outward, which is the panel starting to fail structurally. Panel creases usually mean a new door, not a repair.
If you own a door with a brand like Clopay or Amarr, let us know when you book – those systems have their own hinge and roller layouts, and knowing the brand saves a diagnostic step. We work on Raynor and LiftMaster systems the same way.
The Lubrication Map: What Gets Oil, What Gets Grease, What Gets Nothing
Half the lubrication advice online is wrong for a garage door, and the wrong half is the part that causes trouble. The rule is simple: metal-on-metal movement gets lubricant, everything else stays dry. Screws, bolts, and decorative hardware don’t oil. Tracks don’t oil. Springs themselves don’t get lubricant on a routine check – that’s a decision for a technician who can see the coil condition. Get this map right and the door runs quieter for years.
- Hinges: a light, white lithium grease on the pivot points. Apply with the door down, then cycle the door and wipe the excess.
- Roller bearings: a drop of the same grease on the axle, not on the roller itself.
- Springs: leave them alone unless a technician has inspected them – a worn spring can look better after oiling, which is exactly the wrong signal.
- Torsion shaft bearings: a small amount of grease at the bearing plates.
- Opener rail and chain: chain-drive openers take a light chain lubricant; belt-drive openers don’t take chain oil at all. Check the opener manual or the brand – Genie, Chamberlain, and LiftMaster all use different drive systems.
- Tracks: nothing. Wipe them clean with a dry cloth. Lubricating a track attracts dust and grit and turns it into a grinding paste.
- Photo-eye sensors and safety lenses: nothing. A dry cloth only. Solvent or oil on a safety sensor lens is a fail.
A quick note on products: silicone spray works as a stopgap on rollers and hinges when you don’t have grease handy, but it dries out and doesn’t stay where you put it. White lithium grease is the better fit for pivot points. Don’t use WD-40 as a routine garage door lubricant – it’s a solvent with light oil in it, not a long-term grease, and it will attract dust into the rollers.
Opener and Safety-Reverse Checks
The opener is the easiest part of the system to test at home and the part most people skip. Two checks matter: the auto-reverse test on the photo-eye sensors and the force-reverse test. Both are safety features, and both have real pass/fail criteria.
- Open the door fully with the opener, then close it using the wall button.
- While the door is closing, pass a hand or a piece of cardboard through the photo-eye beam near the floor. The door must reverse immediately. If it doesn’t, the sensor alignment is off or a sensor is failing – fix that before running the door again.
- On a fresh cycle, with the door closed, disengage the opener and lift the door a foot. It should rise easily and stay. Re-engage.
- On the down travel, put a small board flat on the floor under the door’s closing path. On the closing cycle, the door should contact the board and reverse on first contact. If the door has to push down to reverse, the force setting is too high – that’s a setting a technician adjusts via the opener’s control panel.
- Listen for the opener’s sound over the door’s whole travel. A grinding or rattling sound that changes near the top or bottom of the cycle usually points at the opener’s gear or the door itself binding. A sudden grinding in a chain-drive unit is often a stripped gear, and that’s garage door opener repair, not a door problem.
If your opener is stumbling, hesitating, or sometimes not responding to the remote at all, that’s usually a logic board or remote frequency issue rather than the door. LiftMaster and Chamberlain systems have their own diagnostic light patterns on the motor head; check the light pattern before guessing, and mention it when you call so we can send the right diagnostic. We service Raynor, Genie, Chamberlain, and LiftMaster openers on a regular basis, and we’ve seen plenty of misreads where the door looked broken but the opener was the actual fault.
New Rochelle’s Freeze-Thaw Cycle: Adjusting Your Schedule
“Twice a year” is a rough shape of a schedule, not a real one. In New Rochelle, the relevant split is October and April, and the October check is the one that matters more because it comes before the first hard freeze. Freeze-thaw does more damage to a garage door in one winter than a full summer of use. Water gets into metal joints at a hinge or in a track bracket, expands overnight, and works parts loose from the inside. A tension spring wound tight in October is under its heaviest load in the coldest month. Lubricated hinges in October are lubricated in January. The timing is the check.
Here’s how to adjust the schedule for New Rochelle:
- October (pre-freeze): full inspection of springs, cables, rollers, hinges, and bottom seal. This is the one check that shouldn’t wait. Clean tracks, apply grease to hinges and rollers, check the safety reverse on the opener before the cold sets in. A worn bottom seal in October will leak cold air all winter.
- December and January (deep cold): another quick function test – open and close the door once and listen for new sounds. Cold stiffens grease and opens up clearance in worn hinges. A grinding that didn’t exist in September often shows up in January.
- April (post-thaw): look for what winter moved. Frost heaves tilt a track, water lines show up on the door bottom, and the seal that flexed in the cold often stays hard after. Recheck spring tension with the balance test.
- Any month a new noise starts: book a check. A seasonal noise that stays past a single cold snap is not seasonal.
If you’re in a neighborhood like Wykagyl or Pinebrook with a lot of older homes and detached garages, the cold-season check matters even more – older door hardware has less tolerance for the swing between a 20-degree night and a 45-degree afternoon. New Rochelle’s freeze-thaw cycle delivers a lot of those swings in a single February week.
What You Should Never Touch Yourself
A maintenance checklist that stops at lubrication is the wrong checklist, and a checklist that tells you to “tighten springs yourself” is worse. Torsion springs carry stored force that can cause serious injury. Cables are under the same tension. There’s no safe home fix for either, and there’s no partial version – an under-wound spring is only slightly less dangerous than a fully wound one. The other genuinely dangerous jobs are the opener’s force adjustment screw (set it wrong and the safety reverse stops working) and any electrical work at the opener’s motor head. Track adjustment on a door with a spring under load is close behind.
The right home actions are checks: look, listen, test with the door balance test, lubricate what’s on the lubrication map, and clean the tracks. The right professional actions are replacement: springs, cables, rollers that have failed, tracks that have dented, the opener’s internal parts. When you call, a trained technician can inspect the spring system and confirm whether it’s a repair or a replacement. If it’s a genuine emergency – a door stuck open overnight, a broken spring in the cold before a work morning – we’re available for emergency calls. We’d rather be called for a check than a rescue.
Common Mistakes to Avoid
- Oiling the tracks. This is the most common garage door maintenance error. Oil attracts grit, grit grinds the rollers, and the noise gets worse instead of better. Clean the tracks, don’t lube them.
- Assuming the opener is the problem. An opener straining against a dragging door will fail. Test the door’s balance first. In New Rochelle, a lot of “failed opener” calls turn out to be a worn spring or a dented track that pushed the opener past its limits.
- Skipping the October check because the door “seemed fine” in August. A door that passed the balance test in the summer can be out of balance by October. The pre-freeze check isn’t optional in this climate.
- Winding a spring tighter to fix a sagging door. Torsion springs are wound with a specific number of turns for the door’s weight. Adding turns doesn’t fix the door – it over-stresses the system and shortens the life of the spring.
- Removing the safety cable from old extension springs “because it looks crowded.” That cable is the reason a broken spring stays inside the track instead of flying into the garage. It never comes off.
- Using WD-40 as garage door lubricant. It’s a solvent. It drives the old grease out of a hinge and dries up, leaving the pivot dry. Use white lithium grease instead.
- Replacing only one side of a matched pair of extension springs. A new spring next to an old one puts uneven load on the door and the door sags toward the old side. Matched pairs get replaced together.
See the difference
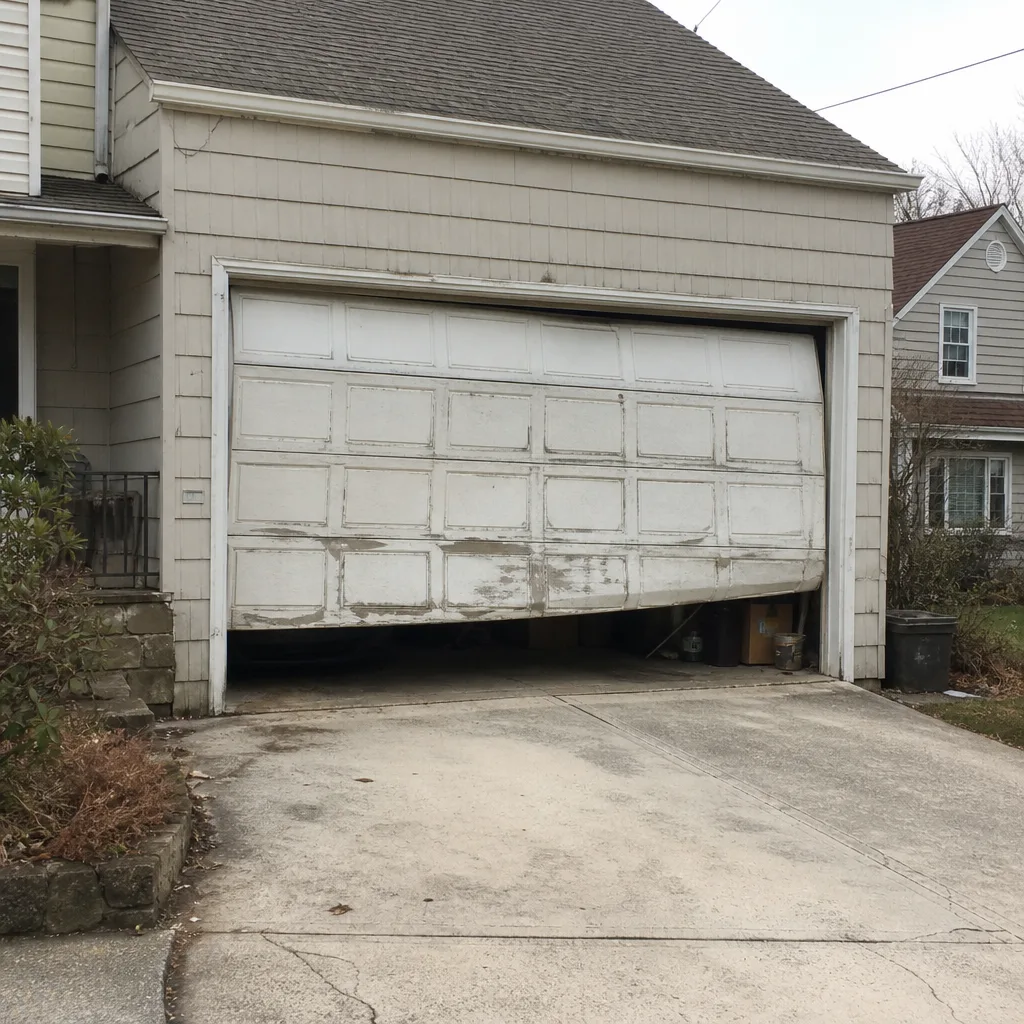 Before
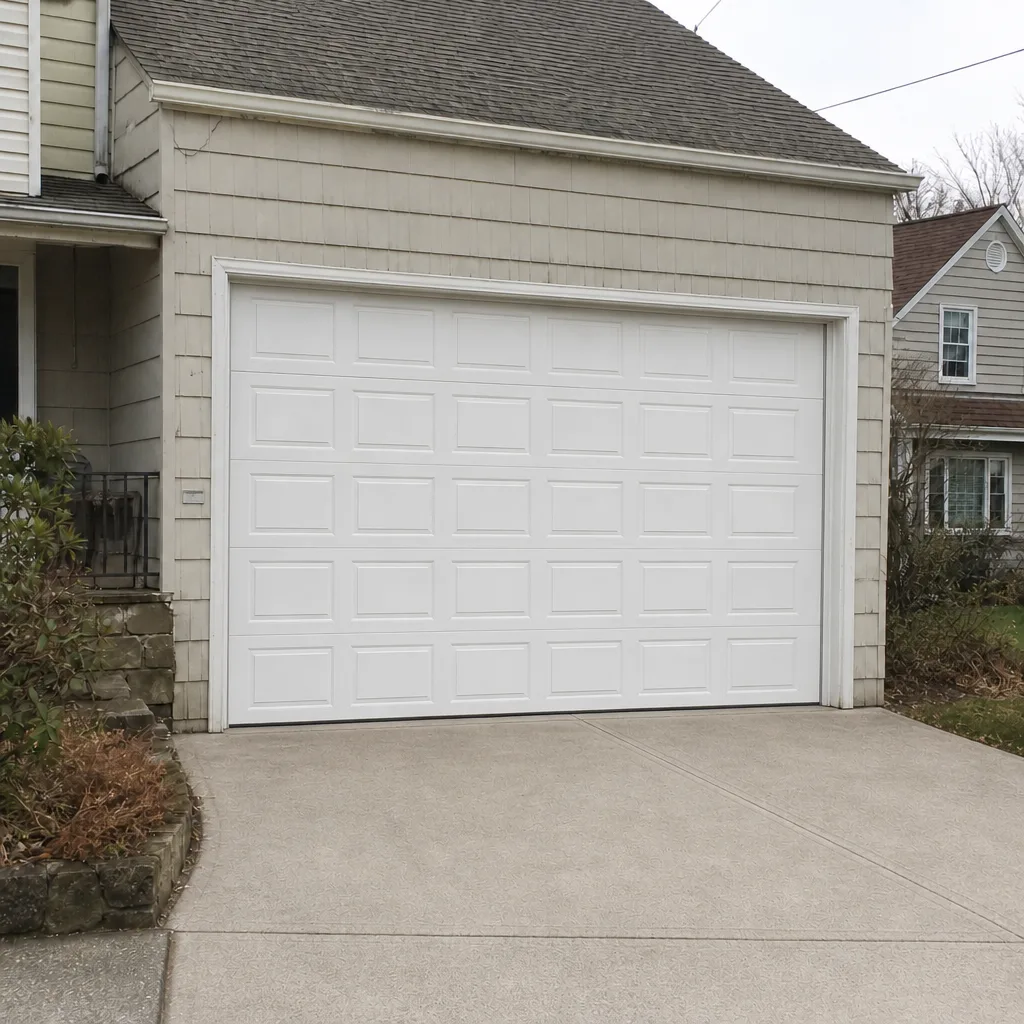 After
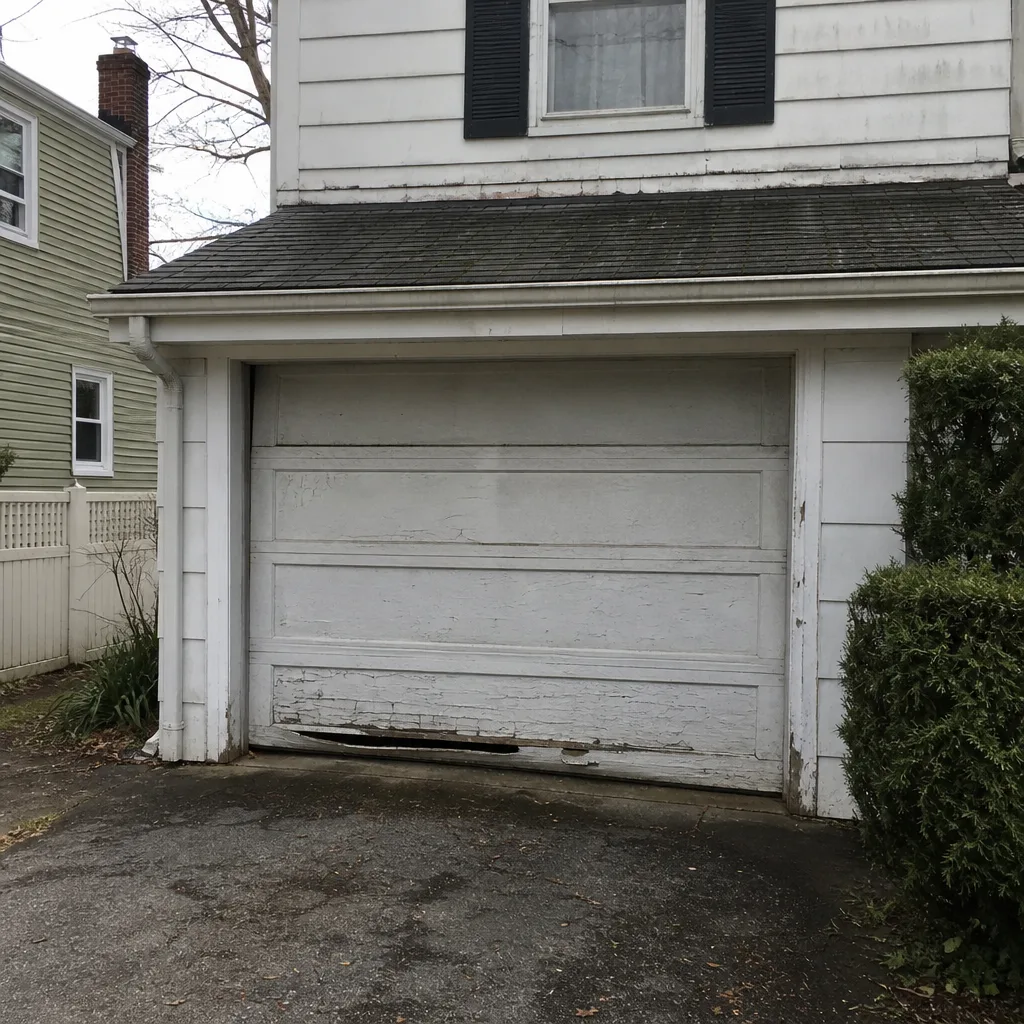 Before
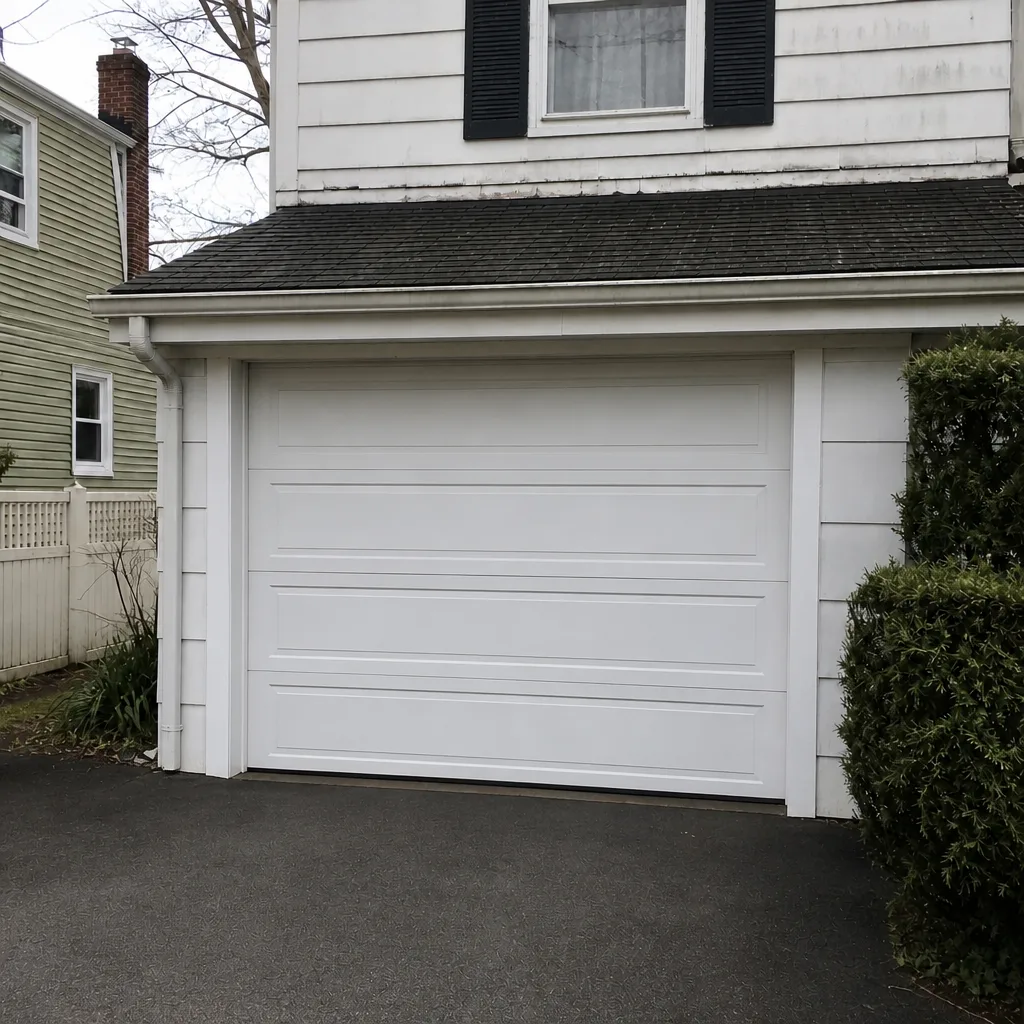 After
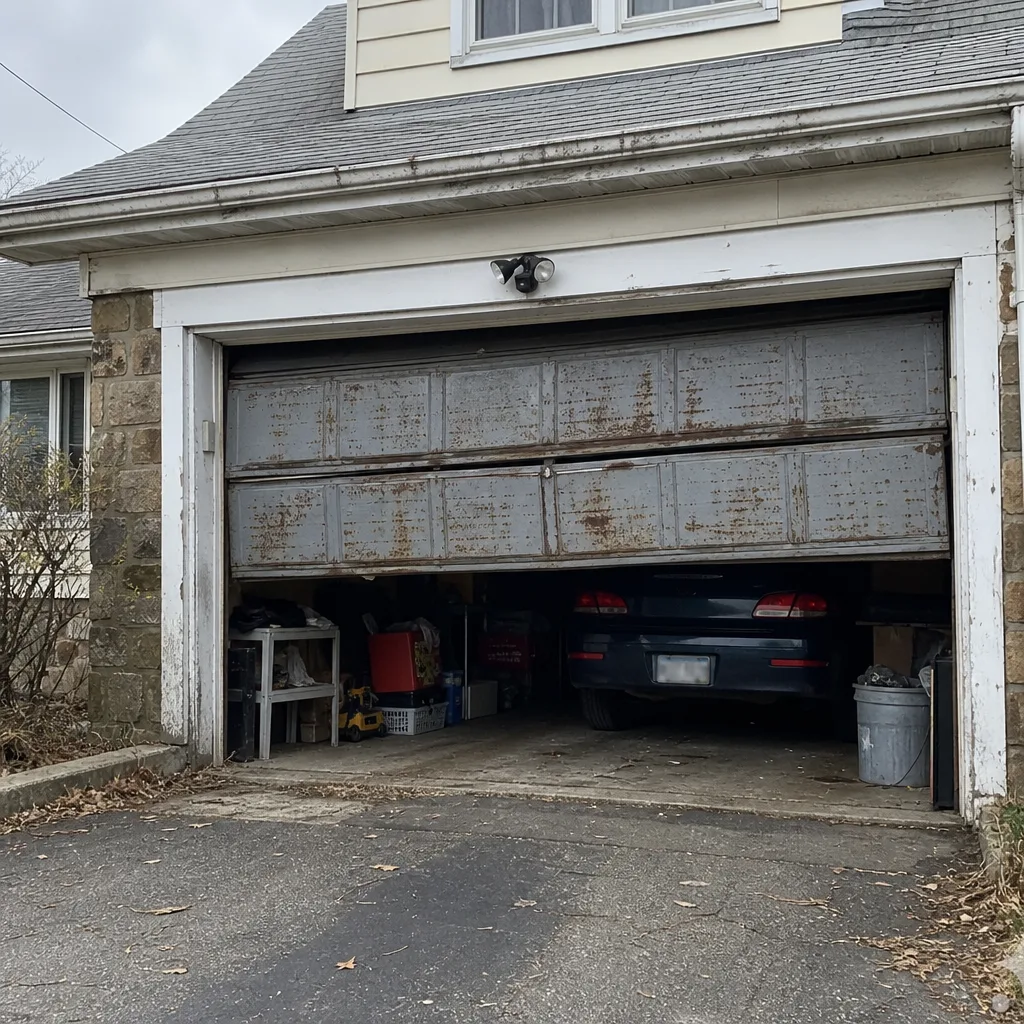 Before
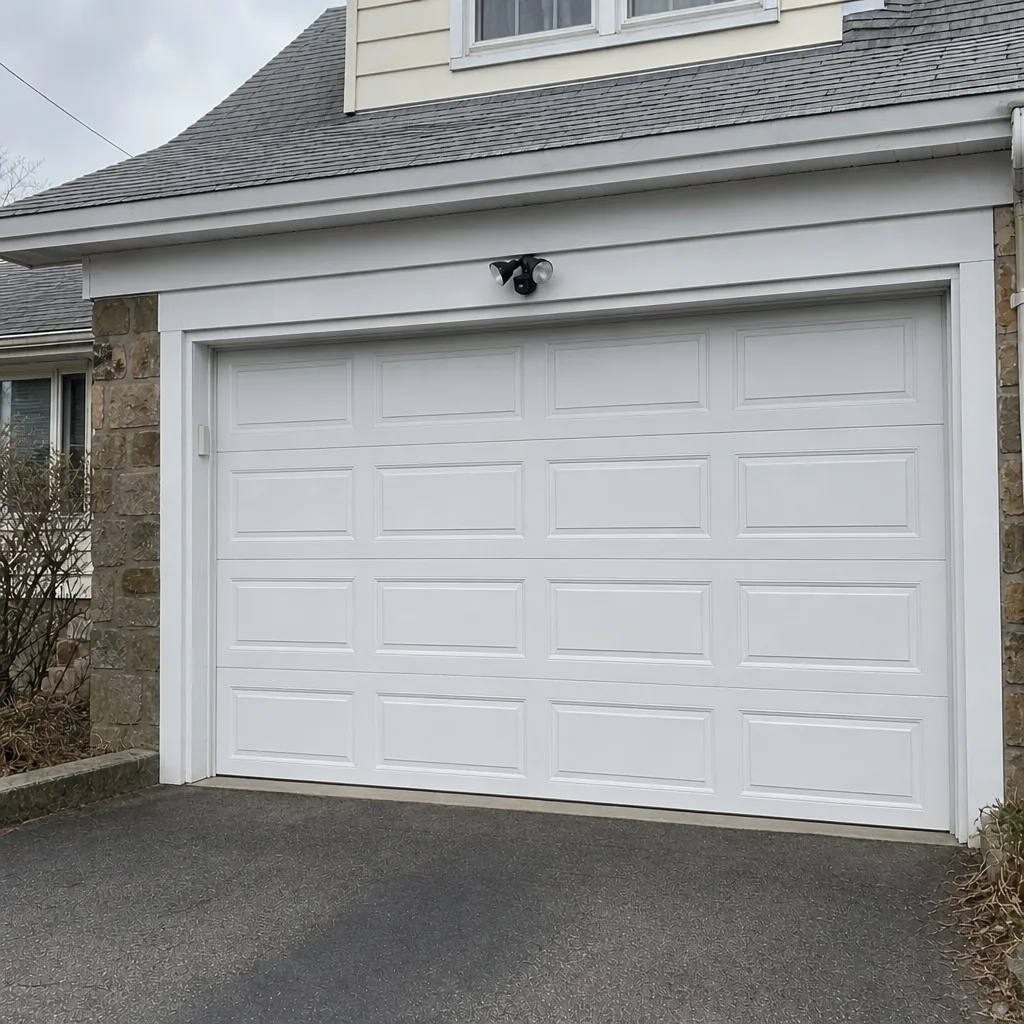 After
When to Call a Professional
Call a professional the moment a spring shows a gap, a stretch, or a visibly thinned coil. Call when a cable is frayed or slack on one side, when the door crashes down rather than lowers, when the door won’t stay in place on the balance test, and when the safety reverse fails its test even once. Call when the door reopens on its own mid-cycle or when a panel starts to crease at a hinge. And call for a proper inspection if you’ve moved into a home in New Rochelle within the past year and you don’t know the door’s service history – a door’s wear pattern is often the only record you’ll get. New Rochelle Garage Door Repair Pros offers free estimates in New Rochelle – call (877) 417-8369. Our technicians have up to 13 years of experience and work on virtually every major brand.
Frequently Asked Questions
Twice a year, with the pre-freeze inspection in October being the one that matters most. The October check catches worn springs, hinges, and seals before the cold season loads them. A second check after the thaw in April catches what winter moved. A quick listen for new noises in January is worth the two minutes.
Call us for an exact quote – spring pricing depends on the spring type and door weight, and our estimates are free. The written estimate you receive before work starts is the price, so you’ll know the number before we begin. We don’t finalize a quote after the work is done. Call (877) 417-8369 for an exact quote.
For repair and emergency calls in New Rochelle, same-day service is often possible – call and we’ll tell you what’s open. Full installation and door replacement are scheduled work; those get a free measure and a written price rather than a same-day promise. Emergency calls are available for stuck-open doors, broken springs, and anything that can’t wait.
No. The written quote you agree to before any work starts is the price. If the inspection turns up a different problem than the one you called about, we’ll tell you before doing anything, and you decide. You’ll never get an invoice bigger than the estimate you agreed to.
No. Torsion and extension springs carry stored energy that can release without warning, and a broken spring or a snapped cable is dangerous even to handle. The home-safe version of spring care is inspection only: look, listen, and stop at the first sign of a gap or a stretch. Replacement is a job for a trained technician.
The local pros we connect you with are licensed and insured as their state requires. We work with specialists who handle spring replacement, opener repair, and installation as a core service – not general handymen taking a guess. Call (877) 417-8369 for a free estimate.
The Bottom Line
Most garage doors that look like they failed suddenly were failing for months. The tells are real: a gap in the torsion coil, a stretched extension spring, a door that won’t stay put on the balance test, a hinge that’s bent, a track that’s dented. Catch them at the October pre-freeze check or the April post-thaw check and you’re keeping a $800 emergency call from happening. Skip them and the door picks the time for you. Give the door a look with the lights on before the cold sets in. It’s the cheapest piece of garage door maintenance you can do, and it’s the one that saves the most.
If anything on this checklist fails, or if you’d rather someone check it for you, we’re at New Rochelle Garage Door Repair Pros and we’re ready to help. Call (877) 417-8369 for a free estimate on repair, opener service, spring replacement, or a full door installation. We work on Raynor, LiftMaster, Chamberlain, Genie, and every major brand in between. Our technicians have up to 13 years of experience, and we’ll quote the price in writing before any work starts.
Written by the team at New Rochelle Garage Door Repair Pros.