Last updated November 22, 2026
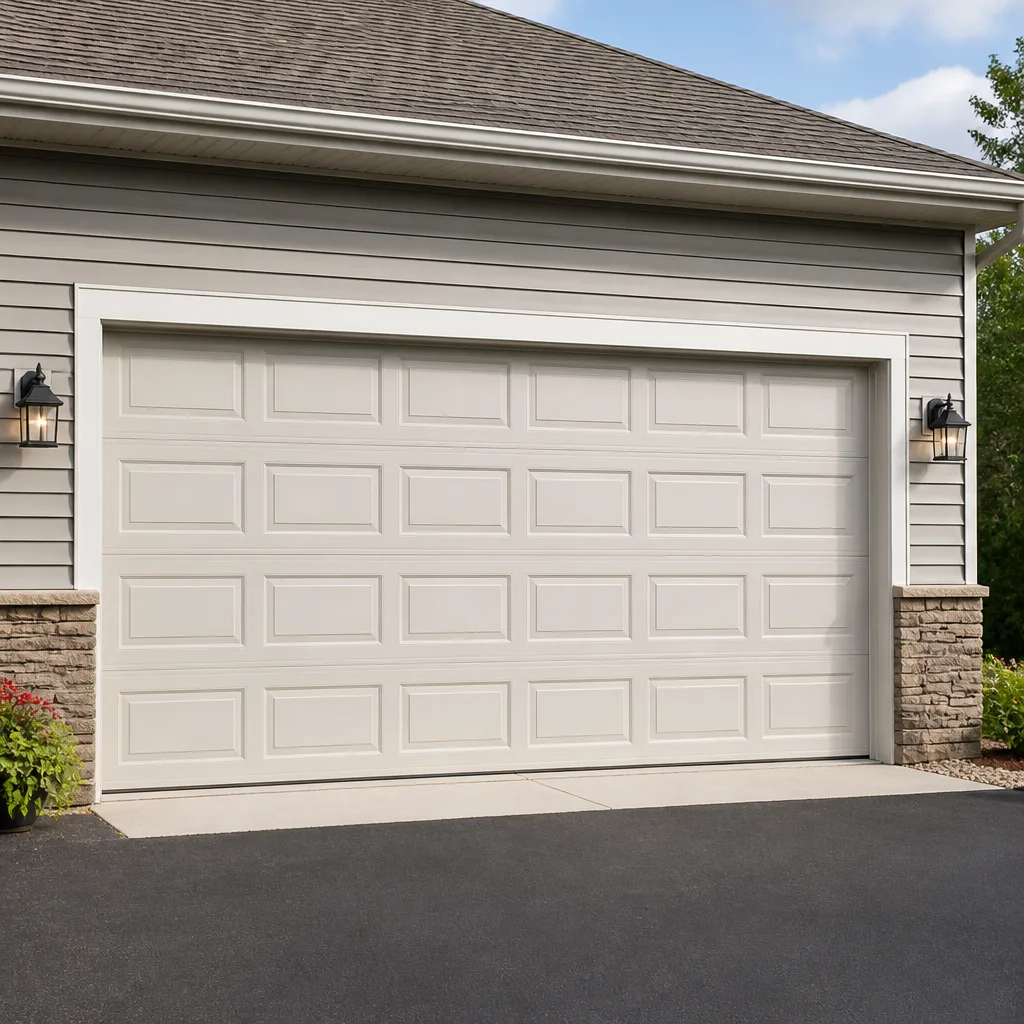 Raised-panel steel
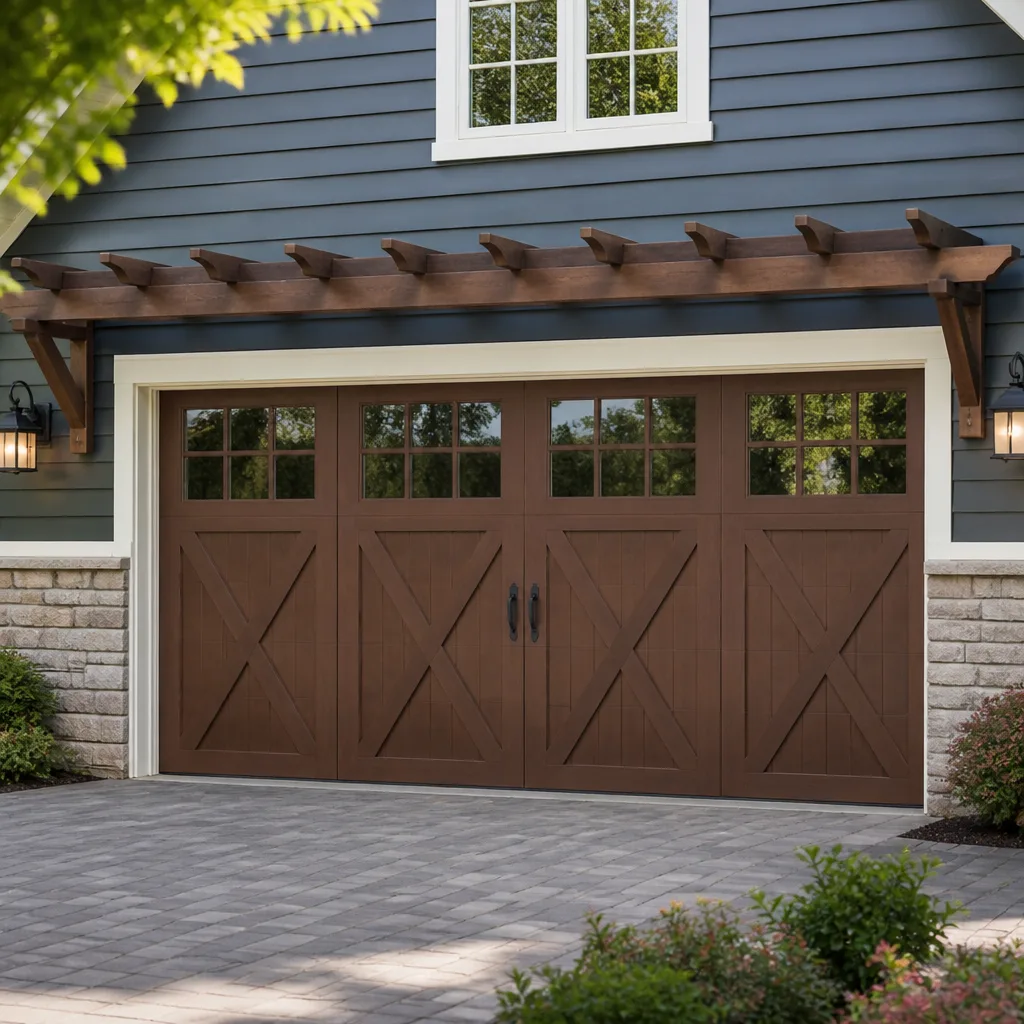 Carriage house
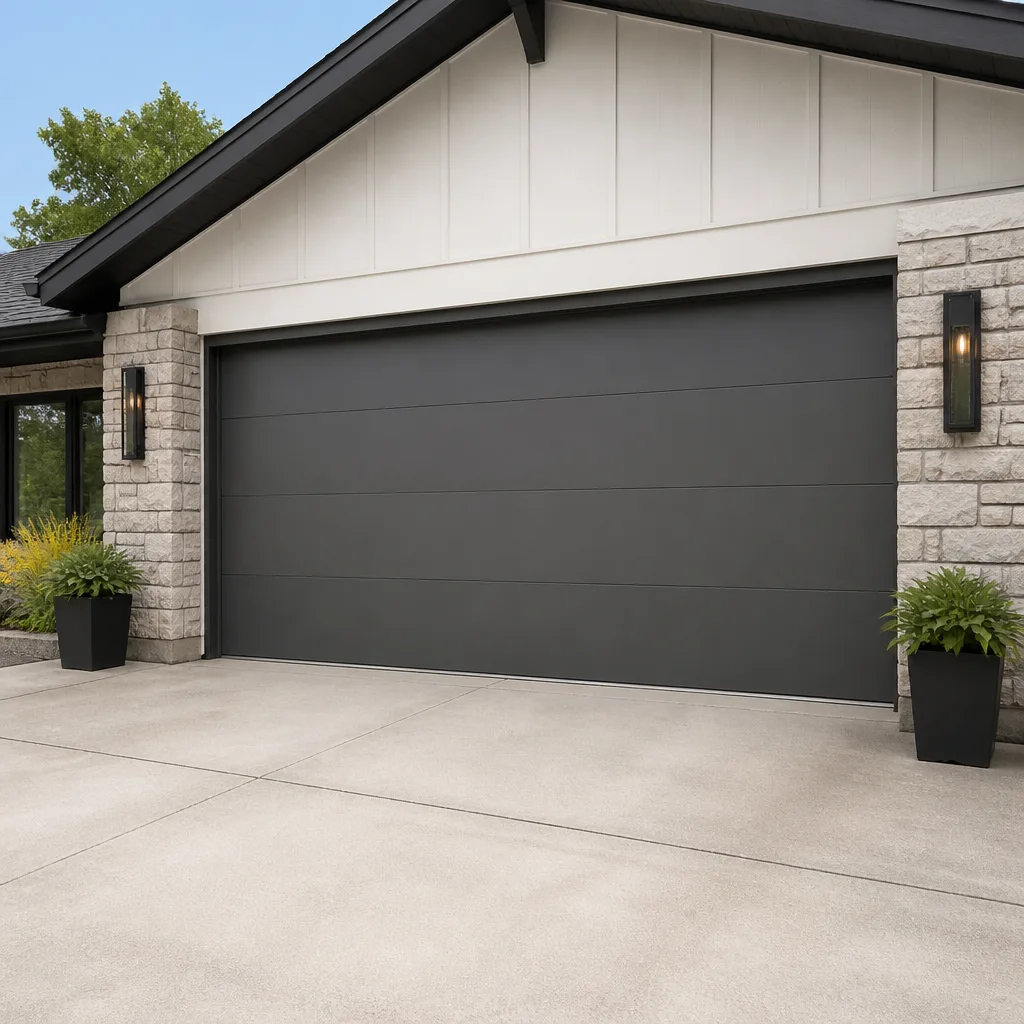 Modern flush
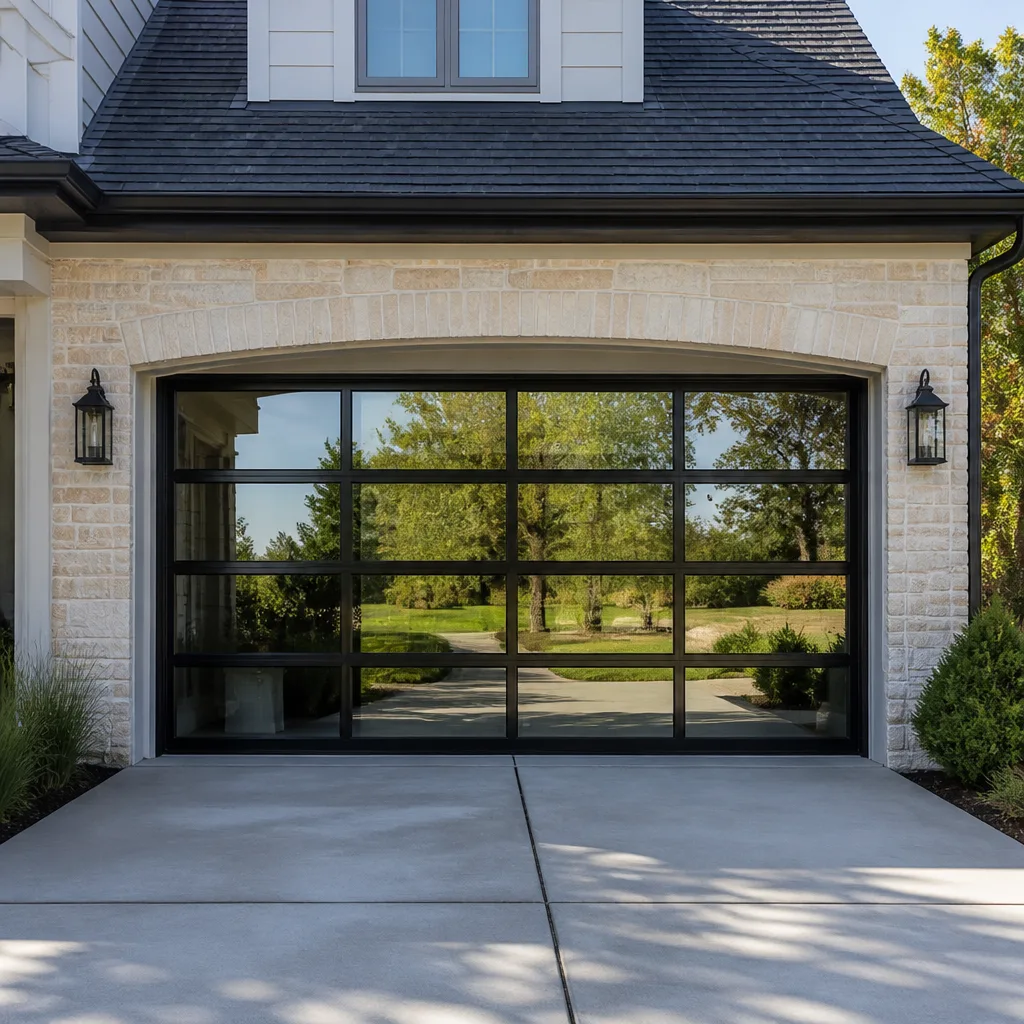 Full-view glass
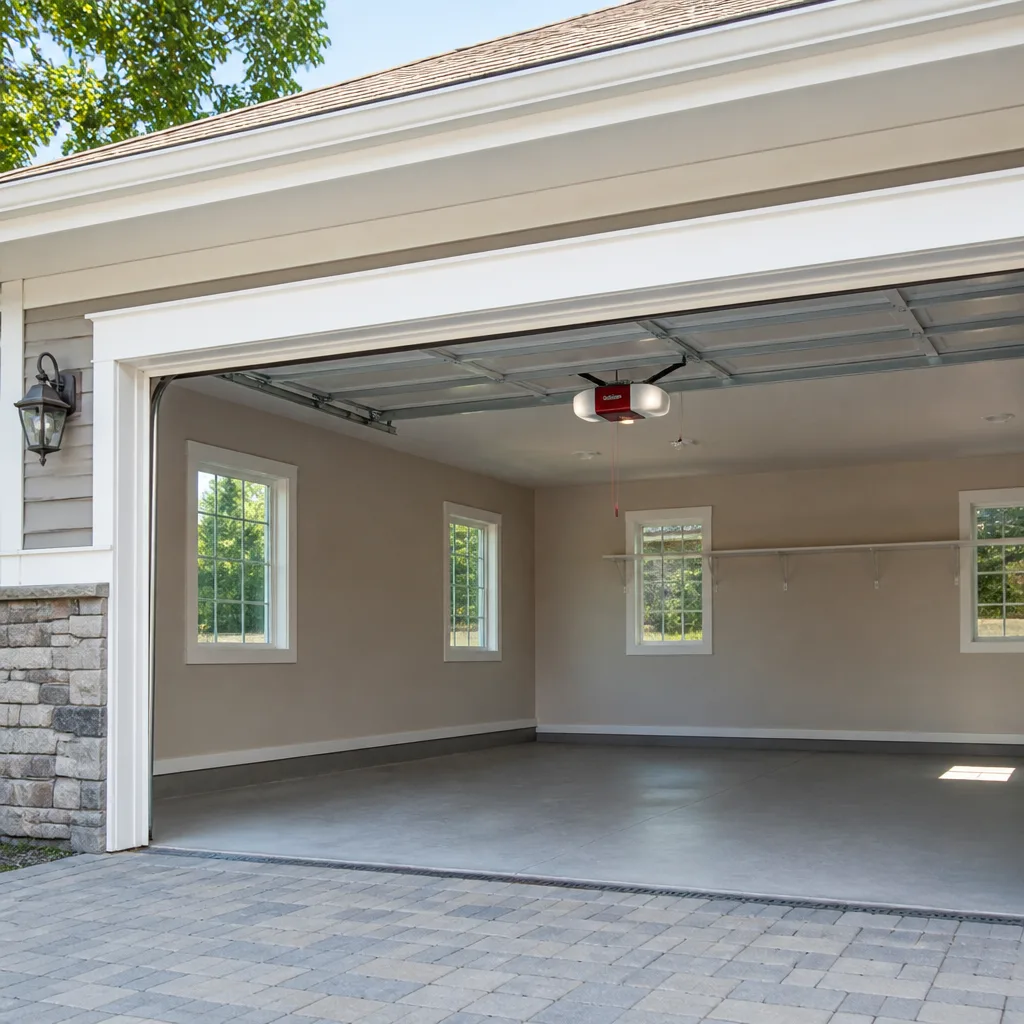 LiftMaster openers
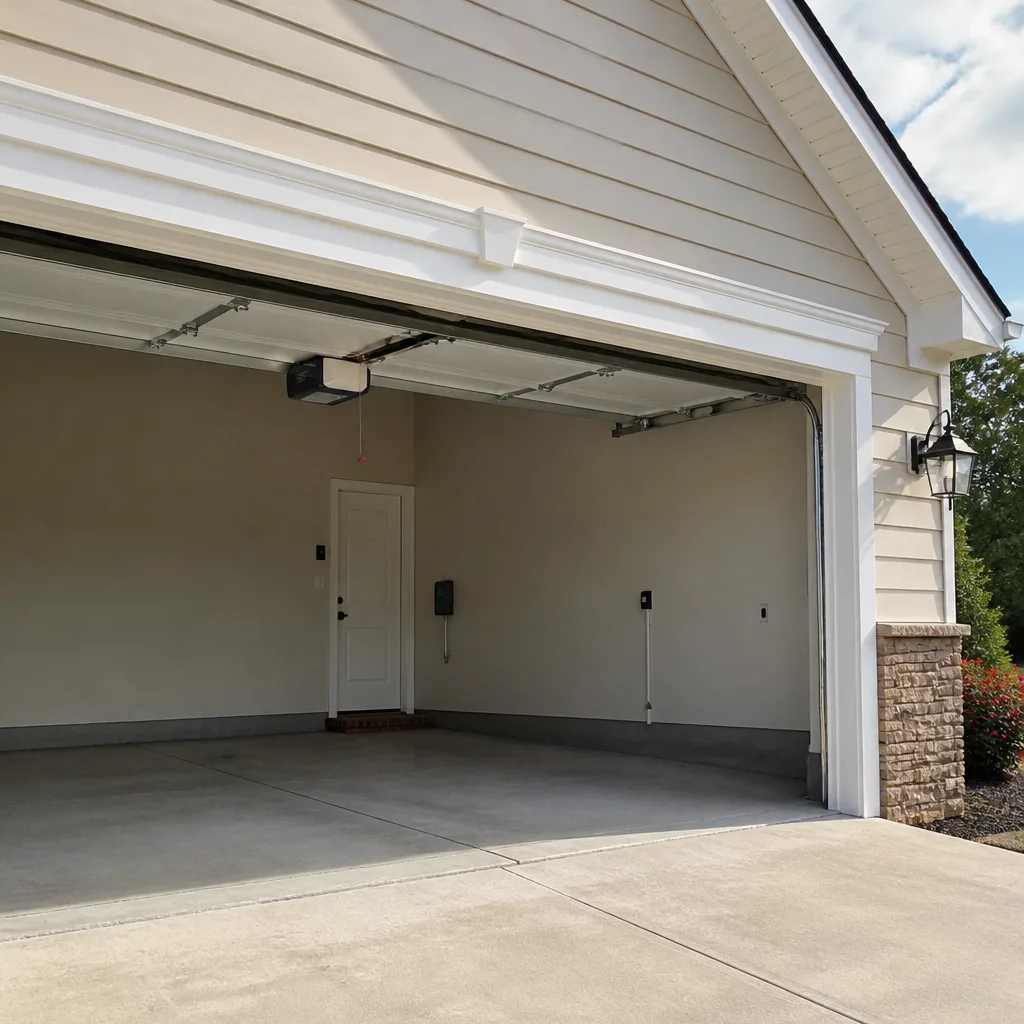 Chamberlain openers
Full 25-point door and opener safety check with every visit - springs, cables, rollers, tracks, and your LiftMaster or Chamberlain opener included
You get a price before we start. It does not change when the pro arrives.
Get your free estimateGarage Door Repair Maintenance Schedule: What to Do and When
Lubricating your garage door every month feels diligent. It’s actually one of the fastest ways to gum up the tracks and attract debris. Over-maintenance is a real problem, and it costs homeowners money just like under-maintenance does. The door that gets wiped down and sprayed weekly often runs worse than the one that gets a few targeted tasks at the right intervals. In this guide, we’ll lay out a realistic maintenance calendar for New Rochelle homeowners, built around how residential doors actually wear: what to check in 30 seconds, what to service every few months, and what to hand to a professional once a year. You’ll learn the specific lubricants that help and the common ones that quietly ruin components. You’ll also see why a proper balance test matters more than most people realize, and how freeze-thaw cycles here change the seasonal checklist.
Quick Answer
A garage door maintenance schedule for a typical homeowner is: a 30-second visual check once a month, a light lubrication of springs, hinges, and rollers every six months, a balance test and hardware tightening twice a year, and a professional inspection once a year. That’s it. Most of the work is looking and listening, not spraying. New Rochelle’s winter freeze-thaw pattern adds a post-winter track inspection and a pre-winter weatherstripping check to that baseline.
Styles & brands we work with
- Raised-panel steel
- Carriage house
- Modern flush
- Full-view glass
- LiftMaster openers
- Chamberlain openers
Table of Contents
- Why a Task-Specific Schedule Beats a Generic Checklist
- Monthly: The 30-Second Visual Check
- Quarterly: Mechanical Tasks Worth Doing
- Annual: What Belongs With a Professional
- The Right Lubricants (and the Ones That Damage)
- How to Run the Balance Test Correctly
- New Rochelle Seasonal Tasks: Winter and Spring
- Which Tasks Void Manufacturer Warranties
Why a Task-Specific Schedule Beats a Generic Checklist
Most maintenance advice you’ll find treats a garage door like a car: check everything, all the time. That approach ignores how the parts actually fail. A torsion spring doesn’t wear out from lack of attention. It fails from metal fatigue after a fixed number of open-close cycles. Rollers don’t seize because you skipped a wipe-down. They seize when grit works into the bearing and the lubricant that was there dries out or gets replaced by the wrong product. Matching the task to the right interval means you service the part when it needs it and leave it alone when it doesn’t.
There’s a second reason the generic checklist fails. A lot of it is designed to sell products, not solve problems. Spraying the whole door with a lubricant every month is easy advice to give. It’s also the reason so many doors in New Rochelle run on tracks packed with sticky residue that collects dust, grit, and whatever the wind blows in. Over time, that buildup creates drag, the opener works harder, and the whole system wears faster.
Here’s the framework this guide uses:
- 30-second checks happen monthly because they catch problems early and cost nothing.
- Mechanical tasks like lubrication and tightening happen every few months because the parts degrade slowly.
- Professional inspections happen once a year because they involve skills and tools most homeowners don’t have, and because some components are dangerous to touch.
We work on doors and openers from Craftsman, LiftMaster, Raynor, and most other major brands, and the interval logic holds across all of them. The brand changes the parts, not the physics.
Monthly: The 30-Second Visual Check
The monthly check is a look, a listen, and a quick touch. It takes less time than reading this section. The goal is to catch anything that’s changed since last month, not to fix anything. If you spot a problem, note it and call it in.
Here’s what to look at:
- Look at the springs. If you have torsion springs (the horizontal coil above the door), check for visible gaps or a broken coil. If you have extension springs (running along the horizontal tracks), check for stretched sections or a spring hanging loose. Never touch a spring under tension. If something looks off, stop and call a professional.
- Look at the cables. The thin steel cables on each side should be taut and evenly wound on their drums. Fraying, kinks, or slack means a problem.
- Look at the tracks. They should be straight and evenly spaced. A dent, a bend, or a section that’s pulled away from the door frame is worth flagging.
- Listen. Open and close the door once. Grinding, squealing, popping, or a door that seems to labor means something needs attention.
- Look at the weatherstripping. The rubber seal along the bottom should sit flush against the floor. Gaps let in cold air, water, and pests.
- Check the safety sensors. The two small sensors near the floor on each side of the door should have a steady light on. A blinking light means they’re misaligned or blocked.
If everything looks and sounds normal, you’re done for the month. No spraying. No wiping. The door doesn’t need it.
Quarterly: Mechanical Tasks Worth Doing
Every three months, the check gets a little more hands-on. This is where you catch the slow wear that the monthly look won’t reveal. A quarterly pass takes about 15 minutes.
1. Tighten the hardware
Garage doors vibrate every time they move, and vibration loosens bolts. Go along the door and the tracks with a socket wrench and check that the hinge bolts, roller brackets, and track brackets are snug. Don’t overtighten. Snug is the goal, and stripped threads are worse than a slightly loose bolt. Pay particular attention to the hinges. They take the most vibration and are the most likely to work loose.
2. Wipe the tracks
Run a dry cloth along the inside of each vertical and horizontal track. You’re removing dust, grit, and any old lubricant residue. Do not spray lubricant into the tracks. The tracks are meant to be clean and dry. Lubricant in the tracks attracts debris and turns into a sticky paste that slows the rollers. If the tracks feel gritty or sticky, wipe them down again with a slightly damp cloth and let them dry.
3. Inspect the rollers
Rollers come in two main types: steel and nylon. Steel rollers are noisier and wear faster. Nylon rollers run quieter and last longer but can crack with age. Spin each roller by hand. It should turn freely and quietly. A roller that wobbles, grinds, or is flat-spotted needs replacing. This is a straightforward job for a technician and a frustrating one for a homeowner without the right tools.
4. Test the auto-reverse
This is a safety check, and it’s non-negotiable. With the door open, place a piece of wood or a roll of paper towels flat on the floor in the door’s path. Close the door using the wall control. The door should reverse as soon as it contacts the object. If it doesn’t, stop using the door and call for service. The auto-reverse is the single most important safety feature on the opener, and it’s the one that fails most often without anyone noticing.
Quarterly work is also a good time to think about whether the door is getting louder or slower than it used to be. A door that used to be quiet and now grinds is telling you something. That’s the kind of thing a technician can diagnose quickly on a garage door repair visit before it turns into a bigger problem.
Annual: What Belongs With a Professional
Once a year, the door deserves a proper inspection by someone who does this every day. This isn’t about upselling. It’s about the parts most homeowners can’t safely check and the wear patterns that take a trained eye to spot.
A professional annual inspection covers:
- Spring tension and cycle count. A technician can assess how much life is left in the springs and whether they’re matched. Springs on the same door should be a matched pair, and mismatched springs are a common cause of premature failure.
- Cable condition and drum winding. Cables are under extreme tension and cannot be safely inspected by a homeowner. A loose or frayed cable is a serious safety issue.
- Balance test with the door disconnected. We’ll cover how to do this yourself below, but a pro will also check for subtler imbalances.
- Opener force settings and travel limits. These can drift over time, and a misadjusted opener puts unnecessary strain on the whole system.
- Panel and hinge wear. Hinges can wear at the knuckle, and panels can develop stress cracks around the hinge points.
- Weatherstripping and bottom seal condition. This is especially worth a close look before winter.
If your opener is a LiftMaster or Chamberlain, the annual visit is also a good time to have the opener itself looked at, since garage door opener repair is often needed when the door has been running out of balance for a while. The motor wears faster when it’s fighting a door it shouldn’t have to.
The Right Lubricants (and the Ones That Damage)
The right lubricant depends on the part. Using the wrong one is worse than using nothing at all, and in some cases it voids the manufacturer’s warranty. Here’s the breakdown.
Springs, hinges, and roller bearings
Use a white lithium grease or a silicone-based lubricant. Both are designed for metal-on-metal contact and won’t attract dust the way oil-based products do. Apply a light coat to the hinge knuckles, the spring coils (not the entire spring, just a light pass), and the roller bearings. Wipe off any excess. A little goes a long way.
Tracks
Nothing. Tracks stay clean and dry. No lubricant of any kind, ever. This is the single most common lubrication mistake we see in New Rochelle, and it’s the one that does the most damage over time.
Weatherstripping and seals
A silicone spray can keep rubber seals from drying out and cracking, particularly at the bottom seal. Apply sparingly, once or twice a year at most.
What NOT to use
- WD-40. The standard WD-40 is a solvent and water displacer, not a lubricant. It strips the existing lubricant from the part and then evaporates, leaving the component dry. It’s fine for loosening a rusty bolt. It’s the wrong product for a garage door.
- Cooking spray. It’s oil-based, it attracts dust, and it goes rancid. It also gums up over time and can leave a film that’s hard to remove.
- Motor oil or axle grease. Too thick for garage door components, and it will collect grit and create drag on the rollers.
- Any spray labeled “penetrating oil” as a long-term lubricant. These are designed to free stuck parts, not to protect them long-term.
Stick to white lithium grease or silicone-based lubricant, applied lightly, on the right parts. That’s the whole list.
How to Run the Balance Test Correctly
The balance test tells you whether your springs and opener are sharing the load the way they should. An out-of-balance door forces the opener to work harder than it was designed to, and that extra strain adds up every single time the door moves.
Here’s how to do it safely:
- Close the door fully. Make sure no one is standing in the door’s path.
- Pull the emergency release cord. This disconnects the door from the opener. The door should be heavy and stay in place when you let go.
- Lift the door by hand to about waist height. It should lift easily, and it should stay where you let go. If it drifts down, the springs are too weak. If it drifts up, they’re too strong.
- Lower it slowly and carefully. If it drops or falls at any point, stop. The door is out of balance and needs service.
- Reconnect the opener. Press the wall control or the remote to re-engage the door. Check that the door moves smoothly.
A properly balanced door stays put at any position you leave it in, with no drift up or down. It also feels light when you lift it, because the springs are doing most of the work.
An out-of-balance door also puts extra load on the opener motor. The motor is sized to lift a balanced door, and when the springs aren’t carrying their share, the opener is carrying more. That extra strain shows up as a harder-working motor, more heat, and faster wear on the opener’s gears and capacitor. It’s one of the most common reasons openers fail before the door does. If the balance test finds a problem, it’s worth having a technician look at the garage door spring repair before the opener takes the hit.
One important caveat: do not try to adjust spring tension yourself. Torsion springs and cables are under extreme tension, and they can cause serious injury if they slip or snap. That’s a job for a trained technician with the right tools. The balance test is a diagnostic check, not a repair.
New Rochelle Seasonal Tasks: Winter and Spring
New Rochelle sits where winters are cold and wet, then swing between freezing and thawing in the run-up to spring. That freeze-thaw pattern is hard on a garage door, and the seasonal checklist reflects it.
Before winter: the weatherstripping check
The bottom seal and side weatherstripping are your first line of defense against cold air, snowmelt, and pests. Before the first hard freeze, check that the bottom seal sits flush against the floor along its full width. Run your hand along it and feel for gaps. A worn or cracked seal should be replaced before winter, because once it’s frozen and torn, it won’t seal again. This is a cheap part and an easy fix.
Before winter: check the opener’s outdoor receiver
If your opener’s remote is finicky at the start of winter, a weak receiver or a battery on its last legs is usually the cause. It’s a small thing, but it’s frustrating to deal with when you’re standing in the cold trying to get the door open.
After winter: the track inspection
Freeze-thaw cycles can loosen the hardware that anchors the tracks to the door frame. Once the ground has settled in spring, do a full pass along the tracks and check for any section that’s pulled away, warped, or out of alignment. This is the check most homeowners miss, and it’s the one that catches a track that’s slowly working loose. It’s also the time to look for rust on the tracks or the bottom panel, since road salt and snowmelt are hard on the lower section of the door.
Summer: the opener and sensor check
Heat and direct sun can affect the safety sensors, and they’re more likely to get knocked out of alignment in summer when people are in and out of the garage more. A quick check of the sensor lights is worth doing when the weather warms up. If you notice the door is more sluggish in the heat, that’s worth a service call too. This is where a dedicated garage door opener repair visit can identify the issue before it strands you.
Which Tasks Void Manufacturer Warranties
Most garage door and opener manufacturers specify the approved maintenance products and procedures in the owner’s manual. Common warranty issues are made with the wrong product or the wrong part. These are the ones that come up most.
- Lubricating the tracks. Most manufacturer manuals specify clean, dry tracks. Lubricating them can be flagged as improper maintenance if you ever file a claim on the opener or the door.
- Using the wrong lubricant on the springs or hinges. The wrong product can break down the lubricant the part shipped with and lead to premature wear. If a technician sees evidence of the wrong product on a failed part, that can complicate a warranty claim.
- Replacing a spring with a mismatched pair. If you replace one spring and leave the other, or replace a pair with springs of the wrong gauge or cycle count, that’s outside manufacturer spec. A matched pair is the standard, and it’s what most warranties call for.
- Adjusting the opener’s force settings outside spec. Turning up the force to compensate for a heavy door is a fix that can lead to motor failure. It’s also a common warranty issue, because the opener was running outside its designed range.
- Installing the wrong replacement parts. If a warranty claim depends on a specific part, using a third-party part can void the coverage. This is where brand familiarity matters: knowing the right part for your specific door and opener keeps the warranty intact.
These aren’t hypothetical. We see warranty complications on doors that have had a wrong product used on them, and they’re frustrating for the homeowner. The fix is straightforward: use the products the manual calls for, and when a task involves a spring, a cable, or an opener setting, let a professional handle it. If you’re unsure whether your current setup matches the manufacturer spec, a free estimate from New Rochelle Garage Door Repair Pros is a good place to start.
Common Mistakes to Avoid
- Over-lubricating the tracks. This is the mistake we see most often. Tracks are meant to be clean and dry, and adding lubricant turns them into a dust trap that slows the rollers and strains the opener.
- Using WD-40 or cooking spray as a lubricant. Both strip or replace the existing lubricant with a product that dries out or attracts grit. They make the door worse, not better.
- Skipping the balance test. A door that’s out of balance puts extra strain on the opener, and that strain is cumulative. It doesn’t show up as a problem until the opener fails, and it’s the most common reason openers fail before the door does.
- Trying to adjust spring tension yourself. Torsion springs are under extreme tension and can cause serious injury. This is not a DIY job, and the balance test is a diagnostic check only. If the door is out of balance, call.
- Ignoring the post-winter track check. Freeze-thaw cycles in New Rochelle loosen hardware and can shift tracks. A track that’s slightly out of alignment in spring becomes a bigger problem by summer.
- Replacing one spring when you need a pair. Mismatched springs wear unevenly, and the door can bind. A matched pair is the standard for a reason.
- Turning up the opener’s force setting to fix a heavy door. The force setting is a safety feature, not a fix. If the door is heavy, the problem is the springs or the balance, not the opener.
See the difference
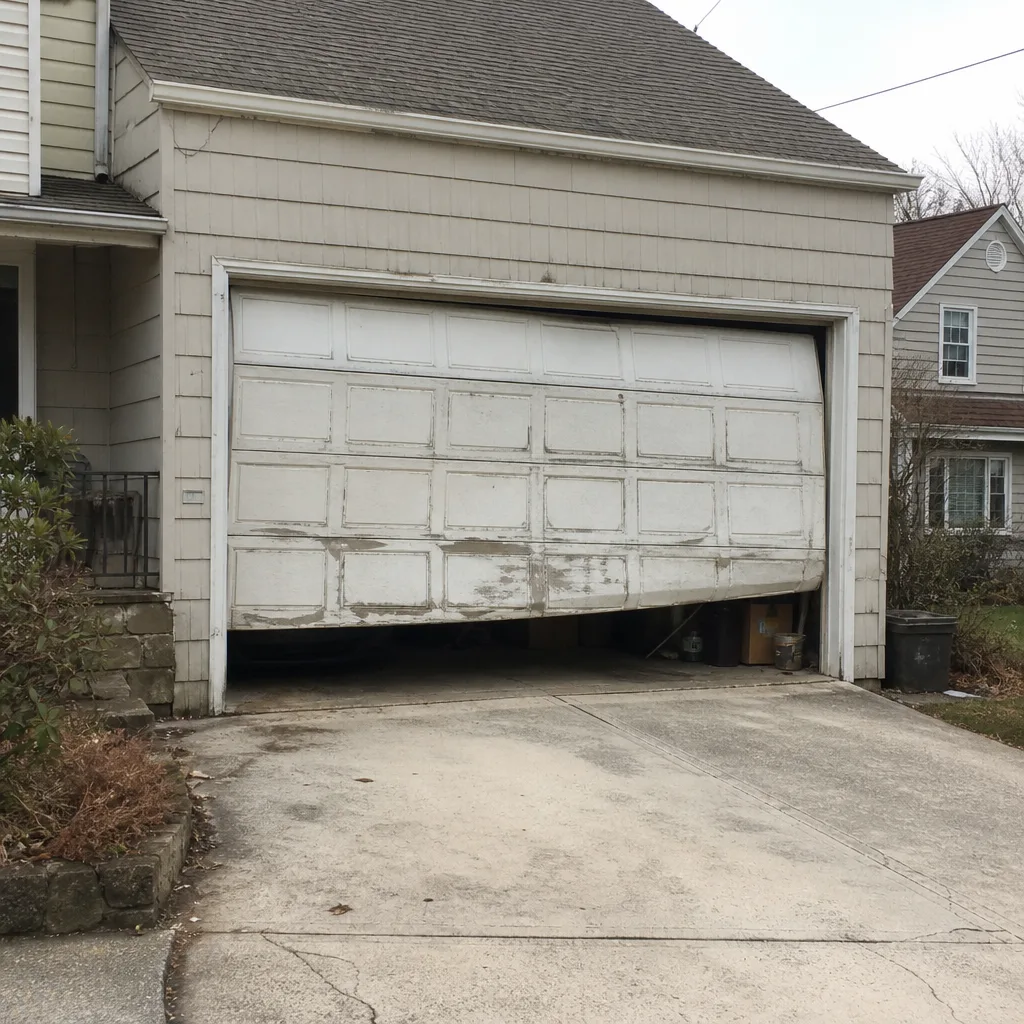 Before
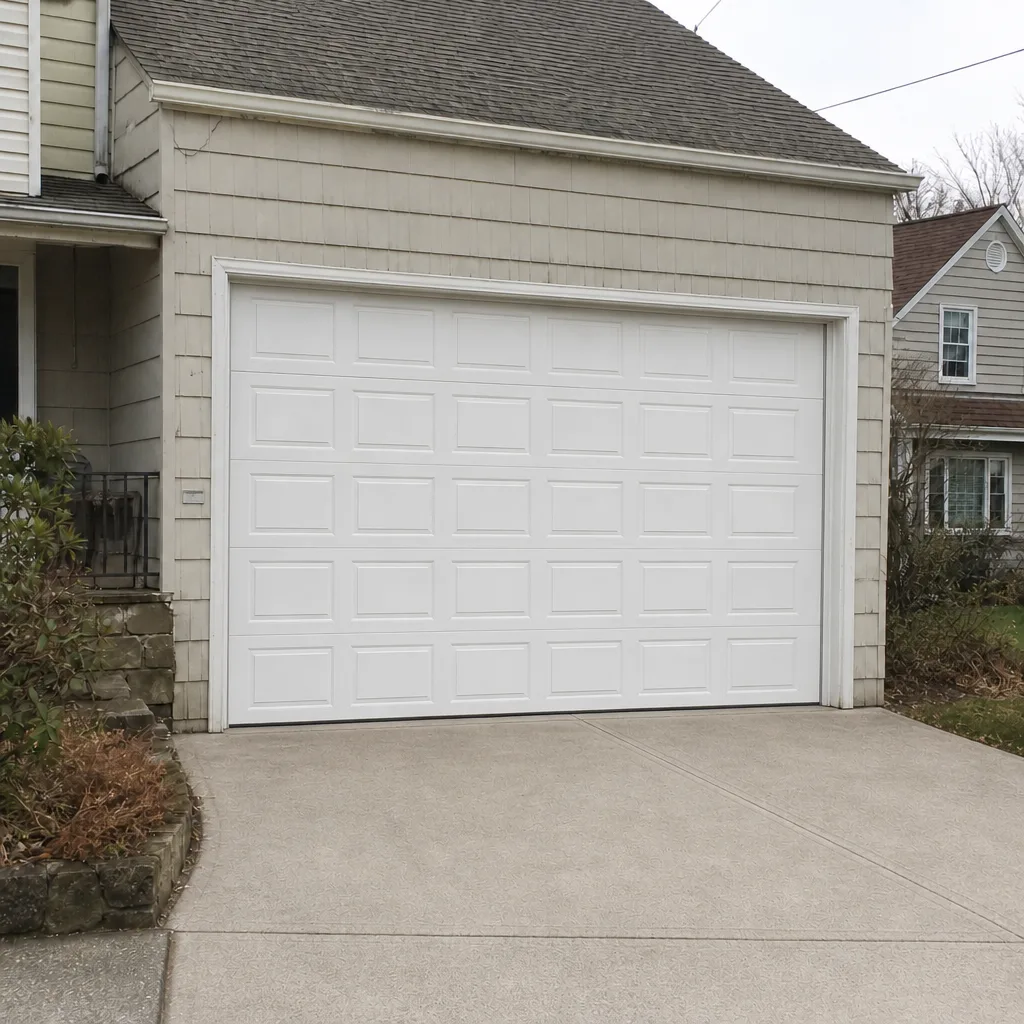 After
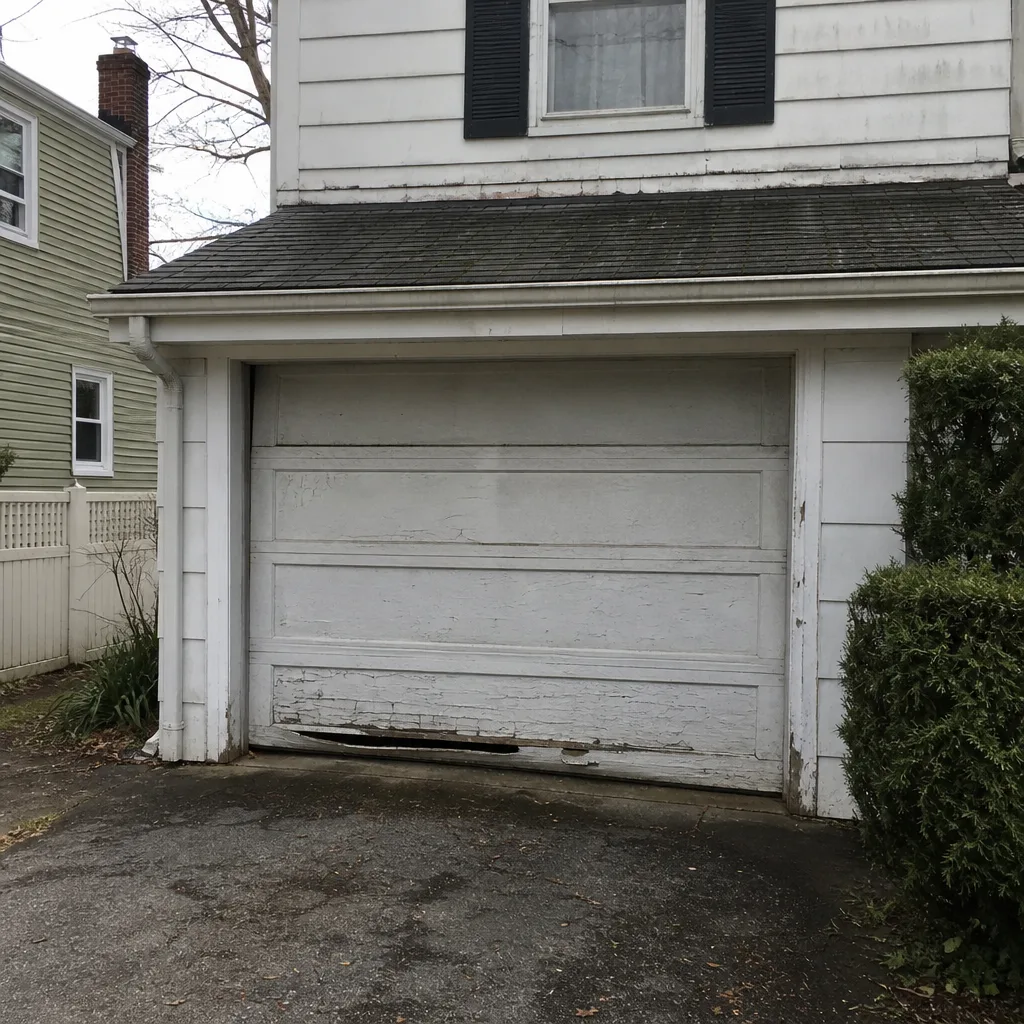 Before
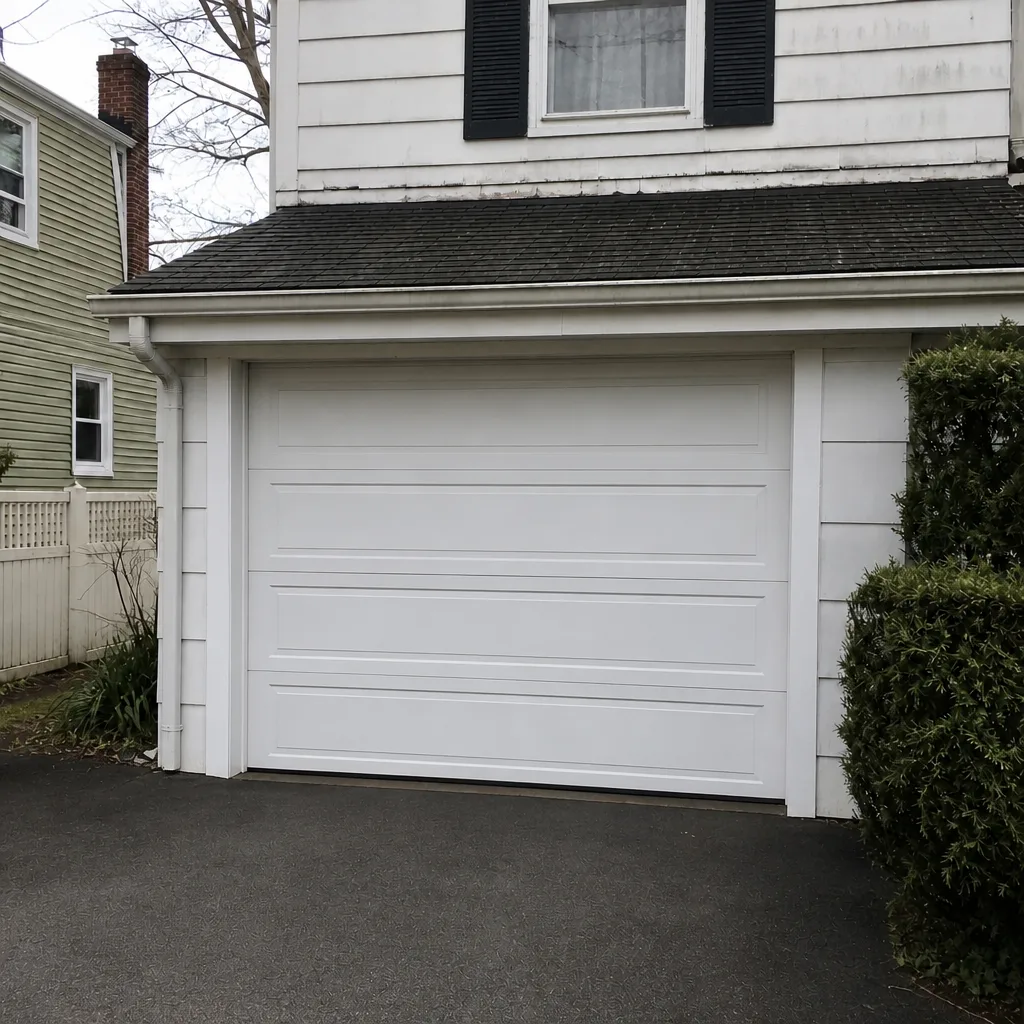 After
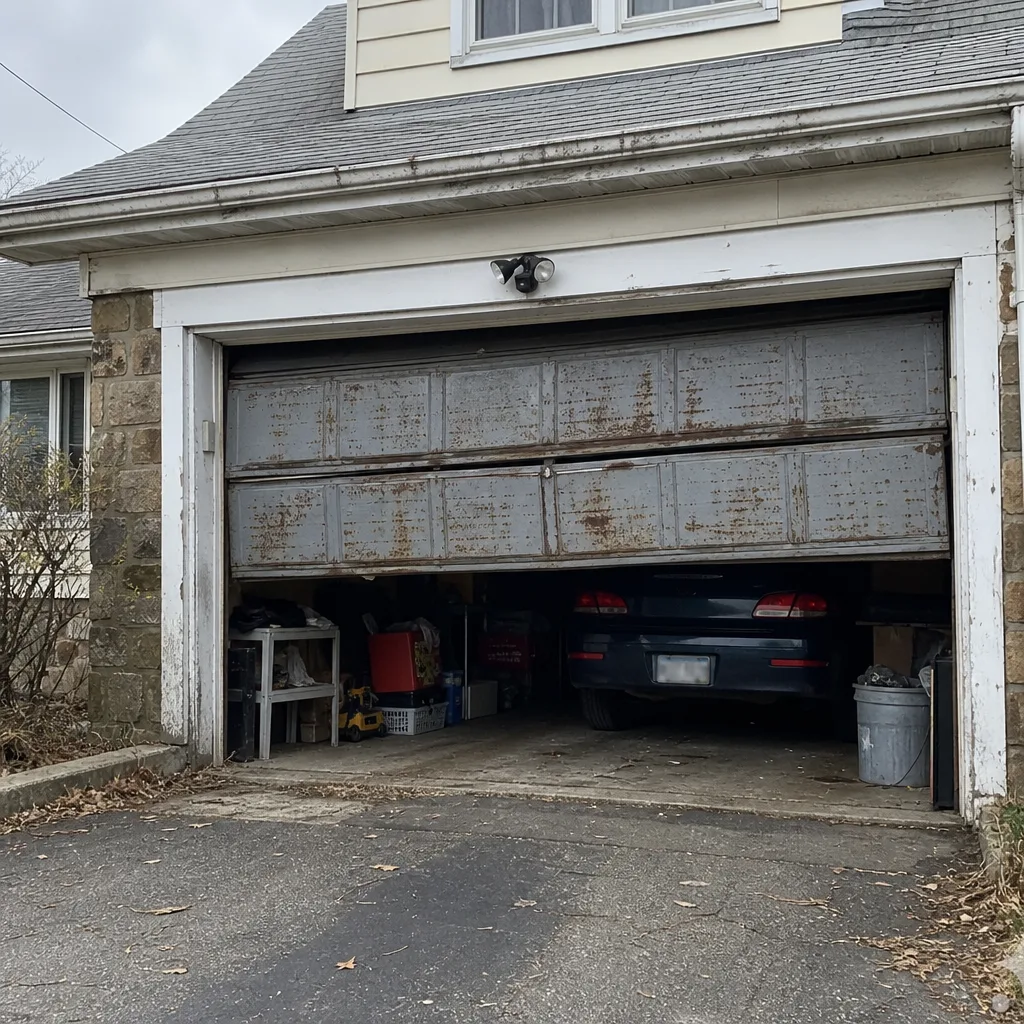 Before
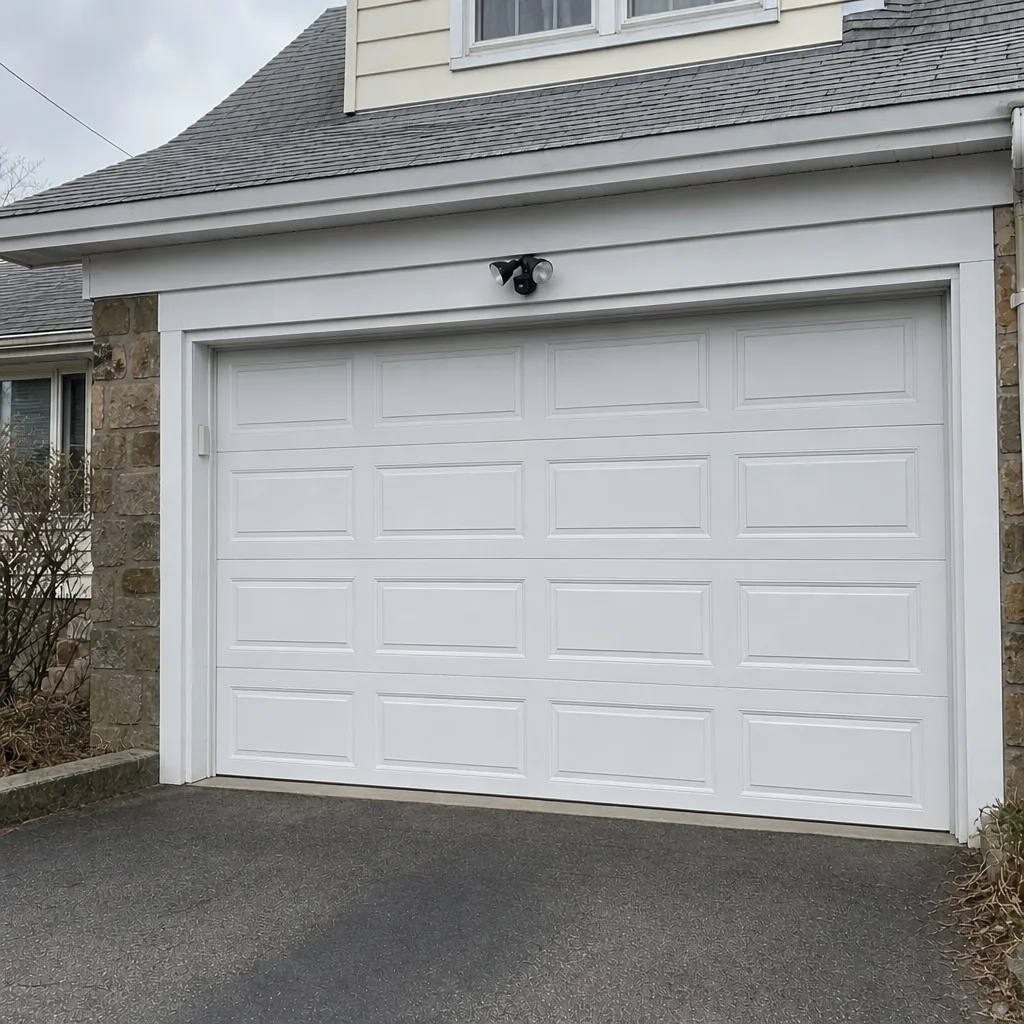 After
When to Call a Professional
Some tasks belong on your calendar. Others belong on our schedule. If you see a gap in a spring, a frayed or kinked cable, a track that’s pulled away from the frame, a door that won’t stay up when you lift it, or an auto-reverse that doesn’t work, stop using the door and call. If the door is out of balance, the opener is straining, or you’re not sure whether a part is within manufacturer spec, that’s worth a professional look too. Springs and cables are the parts that carry real injury risk, and they’re the parts we’d rather handle ourselves than talk a homeowner through. New Rochelle Garage Door Repair Pros offers free estimates in New Rochelle – call (877) 417-8369. Our technicians have up to 13 years of experience, we work on 8 major brands including LiftMaster, Chamberlain, Genie, Clopay, Amarr, Wayne Dalton, Craftsman, and Raynor, and most repairs are completed in a single visit.
Frequently Asked Questions
Lubricate your garage door’s springs, hinges, and roller bearings every six months, and never lubricate the tracks. The tracks are meant to stay clean and dry, and lubricating them is one of the most common maintenance mistakes. A light coat of white lithium grease or silicone-based lubricant on the moving metal parts is enough.
No. Standard WD-40 is a solvent and water displacer, not a lubricant. It strips the existing lubricant from the part and then evaporates, leaving the component dry. Use white lithium grease or a silicone-based lubricant on the parts that need it, and keep the tracks clean and dry. If you’re not sure what’s already on the door, call (877) 417-8369 for an exact recommendation – estimates are free.
An out-of-balance door means the springs aren’t carrying their share of the door’s weight, so the opener is carrying it instead. You’ll notice it when the door drifts up or down after you let go of it at waist height with the opener disconnected. The fix is usually a spring adjustment or replacement, which is a job for a trained technician, not a DIY repair.
Once a year is the standard for a professional inspection in New Rochelle. That visit covers the parts most homeowners can’t safely check, including spring tension, cable condition, and opener force settings, and it’s a good time to have the weatherstripping checked before winter. New Rochelle’s freeze-thaw cycles make the post-winter track check especially worth doing.
Lubricating the tracks, using the wrong lubricant on springs or hinges, replacing a spring with a mismatched pair, and adjusting the opener’s force settings outside spec are the most common warranty issues. The fix is straightforward: use the products the owner’s manual calls for, and let a professional handle spring, cable, and opener setting work. If you’re not sure your setup matches the manufacturer spec, call (877) 417-8369 for an exact answer.
Yes. New Rochelle Garage Door Repair Pros offers emergency service for situations where waiting until business hours isn’t an option, including a stuck door or a broken spring. Call (877) 417-8369, and we’ll get a technician scheduled as soon as possible. For routine maintenance or an annual inspection, we’ll schedule that at a convenient time.
The Bottom Line
Good garage door maintenance is about matching the task to the interval. A monthly visual check, a quarterly hands-on pass, and an annual professional inspection keep the door running the way it should without over-servicing the parts that don’t need it. Keep the tracks clean and dry, use white lithium grease or silicone on the moving parts, run the balance test twice a year, and check the weatherstripping before winter and the tracks after the thaw. That’s the whole schedule. If something doesn’t feel right, don’t wait. Call (877) 417-8369 for a free estimate, and we’ll take a look.
Written by the team at New Rochelle Garage Door Repair Pros.